Sole Proprietor
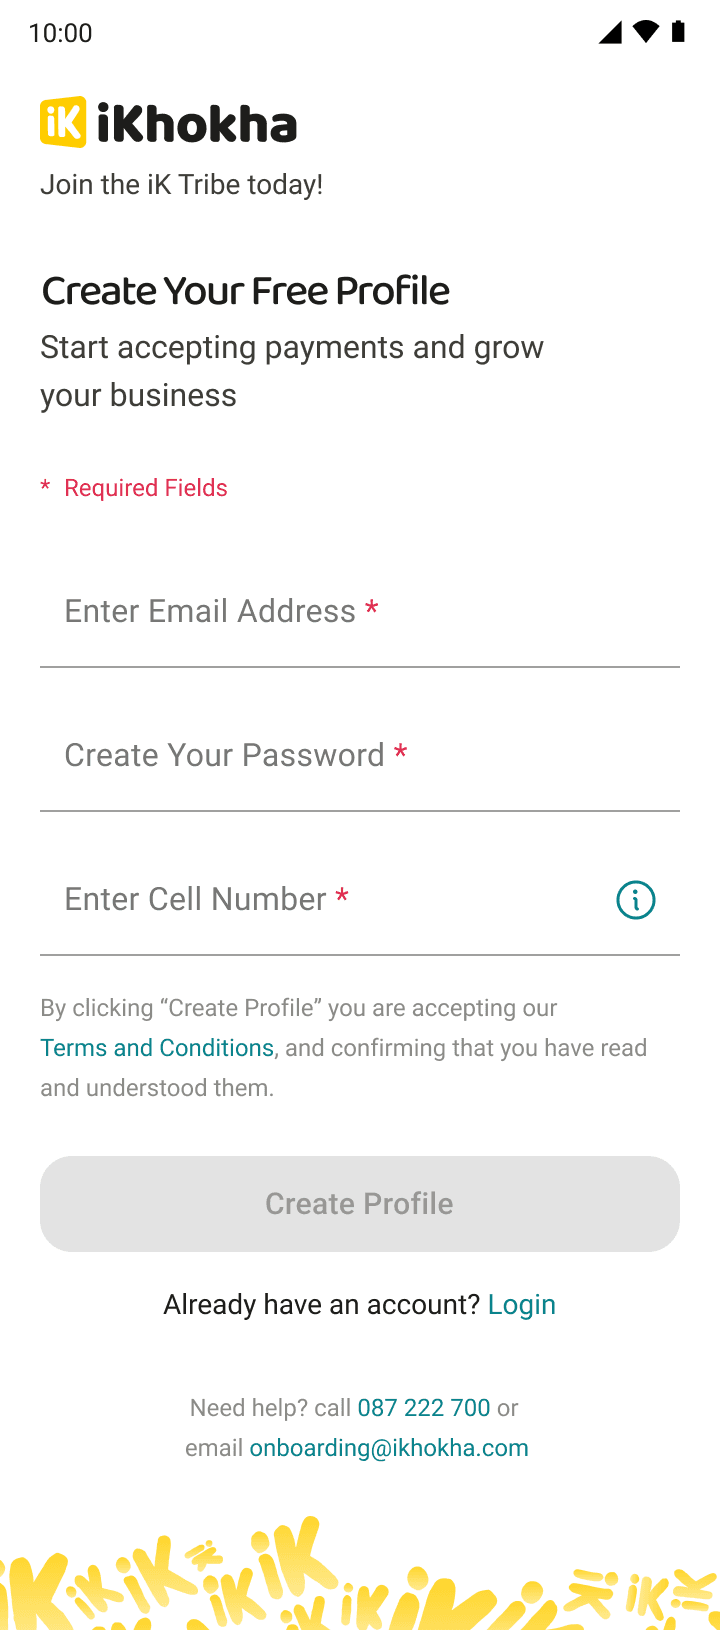
Follow these steps to register with iKhokha and get paid.
Getting Your Sole Proprietor Profile Verified
For businesses, side hustles, or projects owned by one person that aren’t registered with the CIPC, you’ll need to follow these steps and submit the information listed below.
Please note: You must be the owner of the business to get set up to start accepting payments.
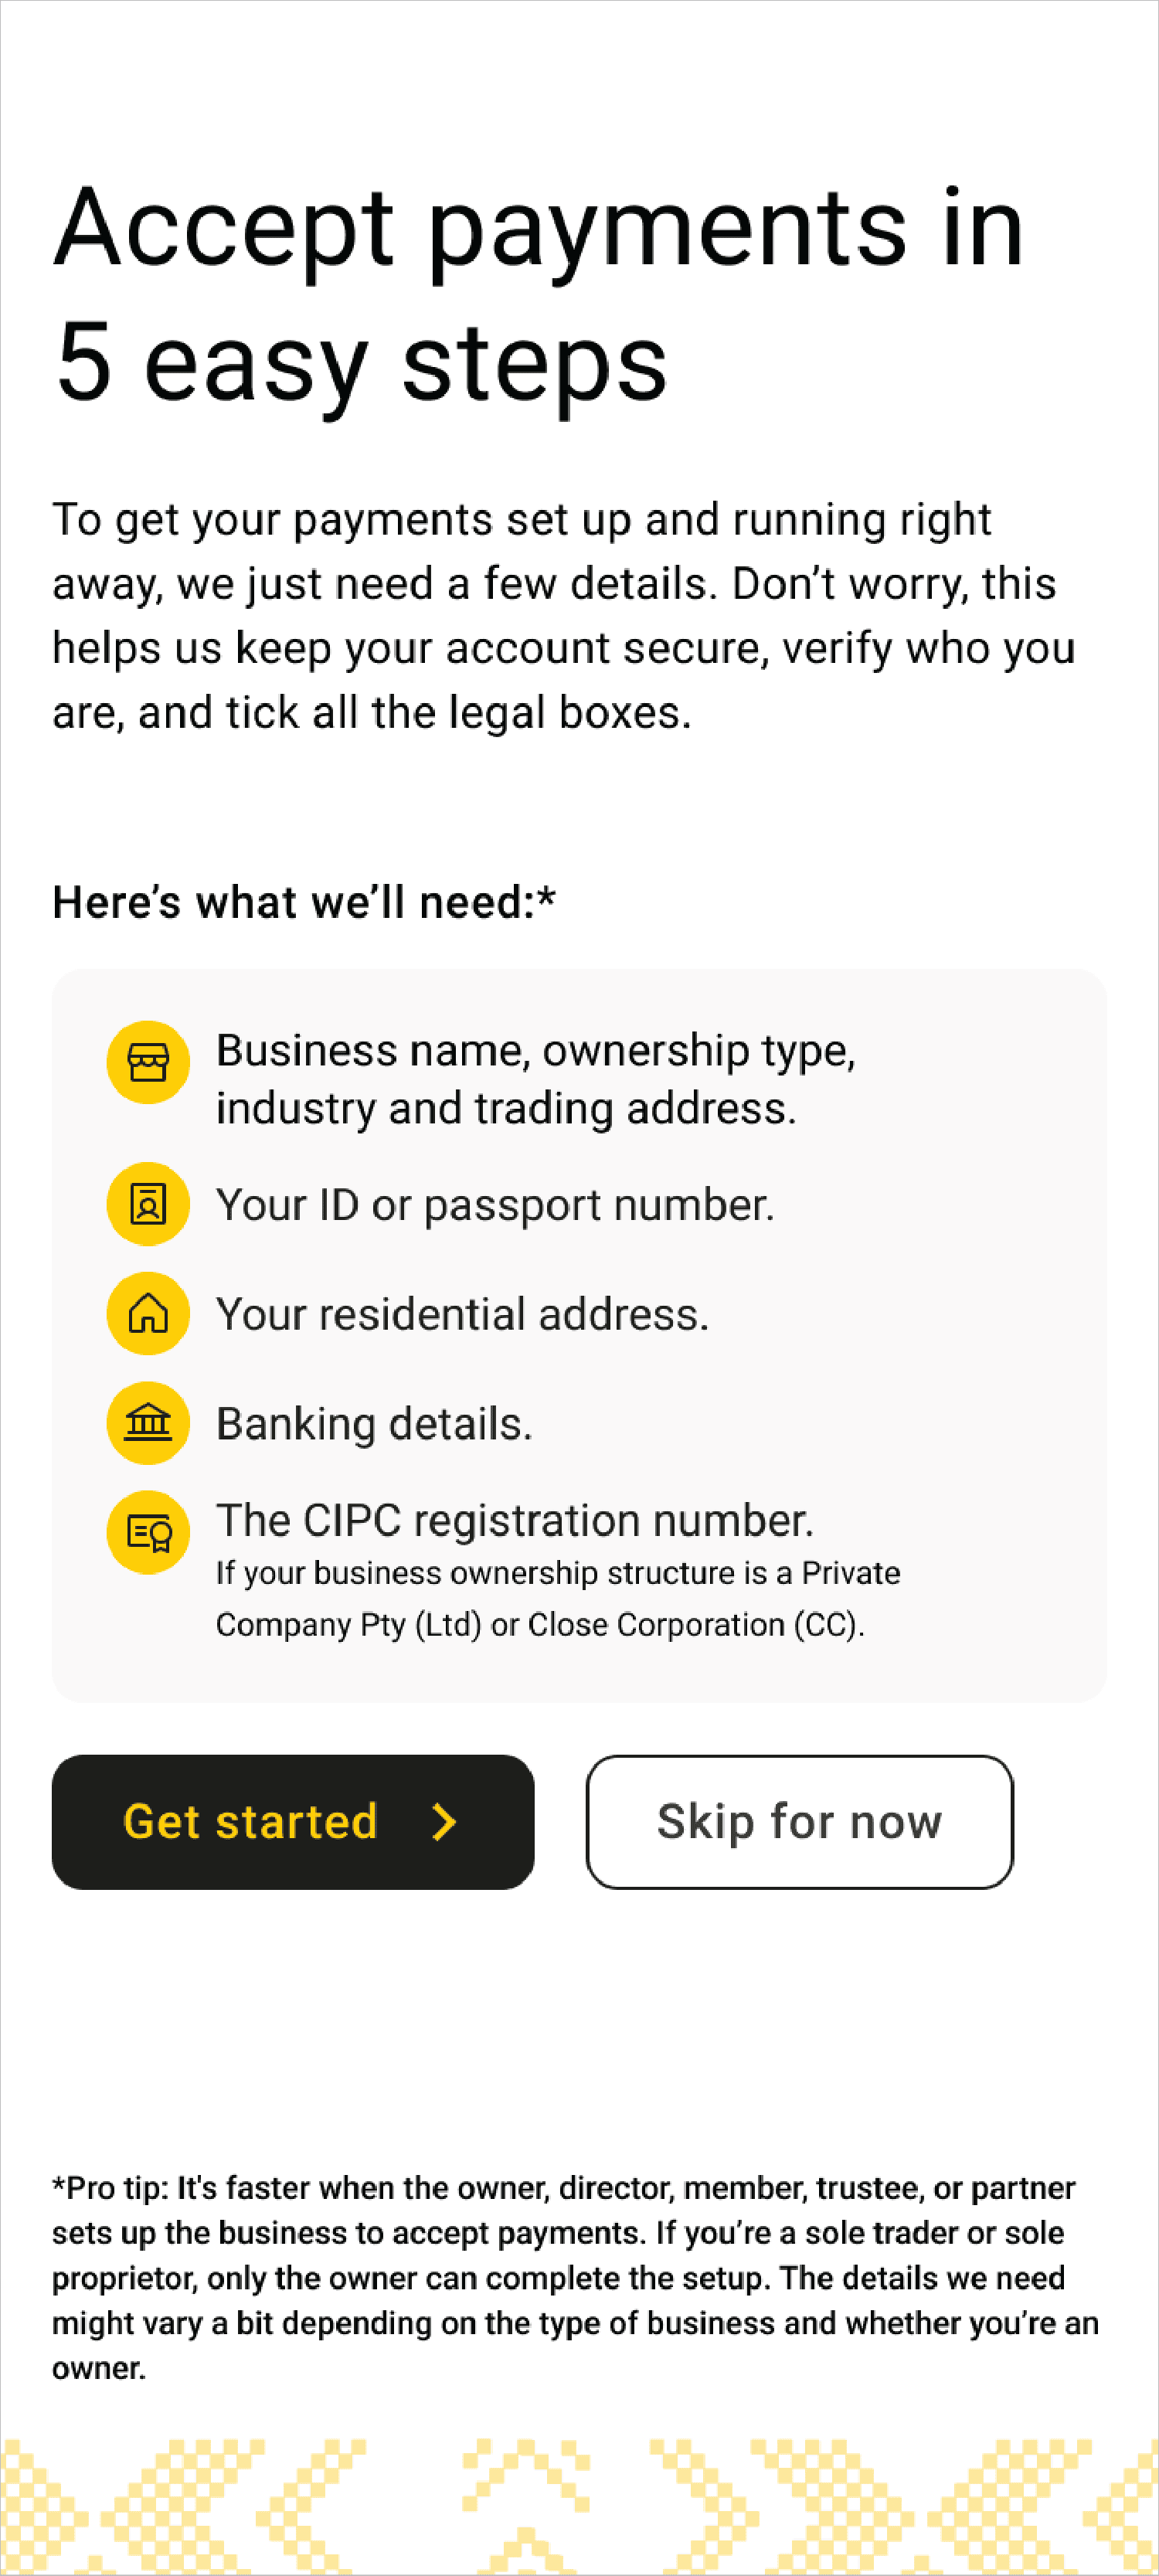
Here’s what’s required for each section.
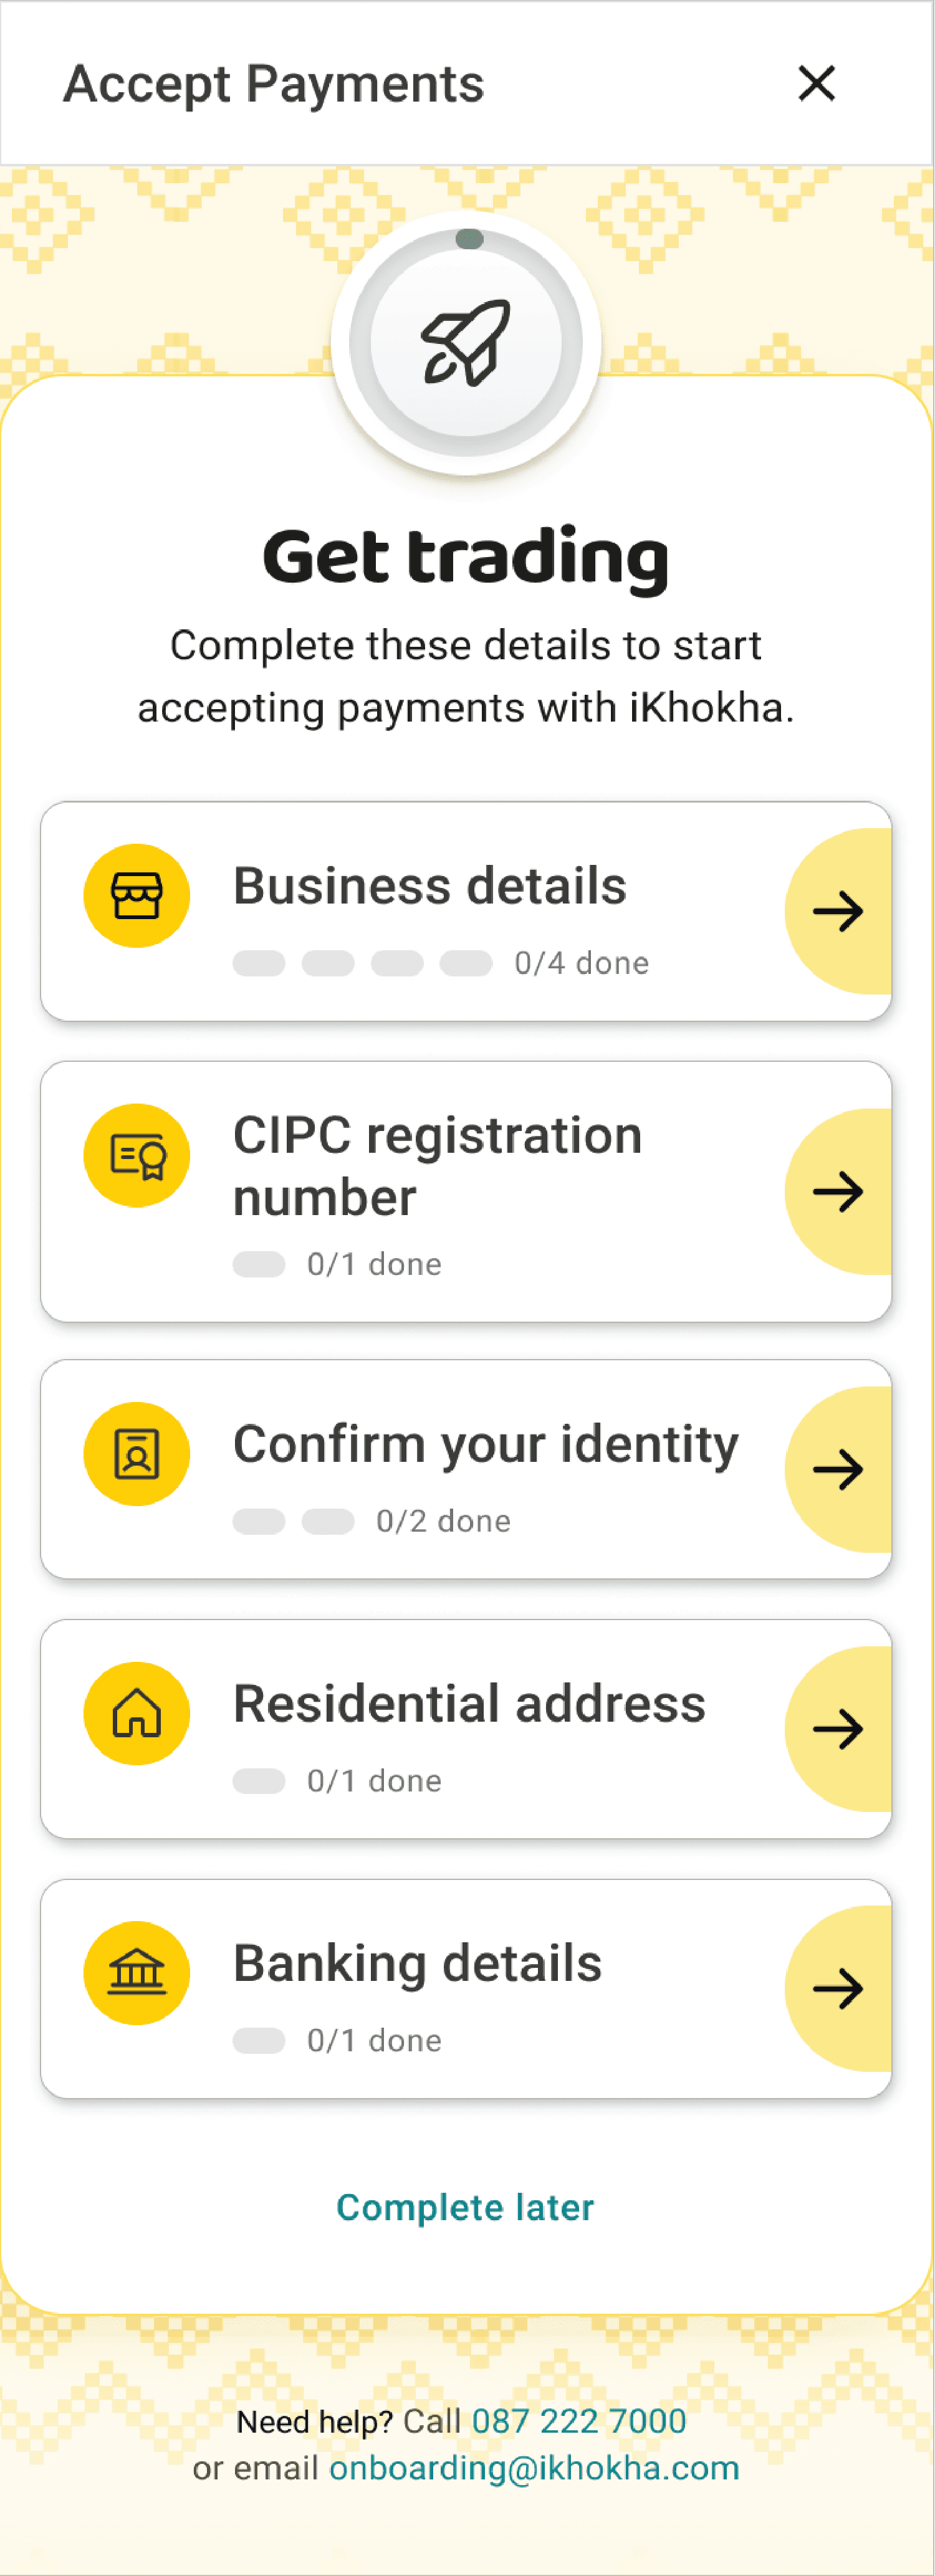
- Business details:
- Select “Sole Trader/ Sole Proprietor”
- Complete your business name. This is the name that will appear on your digital or printed receipts.
- Search and select the industry which best describes what your business does eg. hairdresser or bakery etc.
- Complete your business address. This is the address where you operate your business from. If you sell at markets or run your business from home then this can be your home address.
- Confirm your identity:
- To make sure we know who you are and that no one is pretending to be you, you'll need to confirm your identity. This process requires you to provide some details about yourself and to complete a face scan.
- Please note that in some instances we may also need a photo of the original, of either your:
- Green ID book
- Smart ID card (front and back)
- Driver’s licence (front and back)
- Follow these steps to confirm your identity:
- Provide your ID number, if you’re a South African citizen or a permanent resident with an SA ID number or your passport number and date of birth, if you’re a foreigner.
- Select “Yes” if you are one of the members or “No” if you aren’t.
- Allow camera access when requested so that you can complete the face scan and, if required, take a photo of your identity document
Your camera request notification may be different depending on the device you are using

- Get ready to do a face scan. Remove your glasses or anything covering your face like hats, scarves or hair. Stand in a well-lit area, and avoid bright lights behind you.
- Position yourself within the circle and click “Scan”.

- If your scan has been successfully completed and we don’t need a photo of your identity document, you will automatically be redirected to complete the other remaining cards of information.
This scan is only used for the purpose of confirming your identity.
If you are required to take a photo of your identity document then follow these steps:
- Select the type of identity document you will take a photo of.

- Take a photo of your selected type of identity document. Position the document within the frame and capture the entire card or page. If you’re taking a photo of your smart ID card or driver's licence, you'll need to capture both the front and back of the card.
Please make sure that the photo you take is of the document type you selected. So if you select “Green ID book” you must take a photo of your Green ID book. To choose a different document type click, “Change document type”.
- When you have successfully taken a photo of your identity document, you will automatically be redirected to complete the other remaining cards of information.
iKhokha securely stores your information and uses it for the purpose of completing FICA checks to verify your identity.
- Residential address: Complete your residential address—that’s the place where you live. We need it to confirm it’s really you and to help keep the account safe. It’s just one of the ways we make sure no one’s trying to pretend to be you.
- Banking details: Enter the business’s bank account number and select the bank it’s with. This is the account where the business will receive its payouts, and it must be in the business’s name. Wondering what a payout is? It’s the transfer of funds from iKhokha to the business’s bank account.
Step 4: Submit additional required documents to onboarding@ikhokha.com
After completing all the details via our online platform, if you are not a South African citizen or don’t have a South African ID number, you’ll need to send the following documents to onboarding@ikhokha.com:
- A selfie of you holding a valid foreign passport, with the details clearly visible.
- A copy of your valid (not expired) foreign passport.
- A copy of a valid (not expired) permit — this can be a residence, work, study, asylum seeker, or spousal permit. For spousal permits, please also include a copy of the marriage certificate.
When sending the additional information, please use the same email address you used to create the profile.
Step 5: Wait for verification or check the status of your profile
Once you’ve submitted your information, iKhokha will verify the details and let you know if you’ve been approved or contact you to get any additional information that we need.
Look out for an email from us or you can also check the status of your profile by logging into the iK Dashboard using the email and password you used to create your profile.
If you’ve purchased a card machine then get your card machine linked to your profile.