Setup & Start Transacting on the Shaker Solo
The iK Shaker Solo is a legacy device and is no longer sold. The steps below are for merchants who already own one. If you need a current device, look at the iK Flyer. The iK Flyer Lite and iK Tap on Phone are also available.
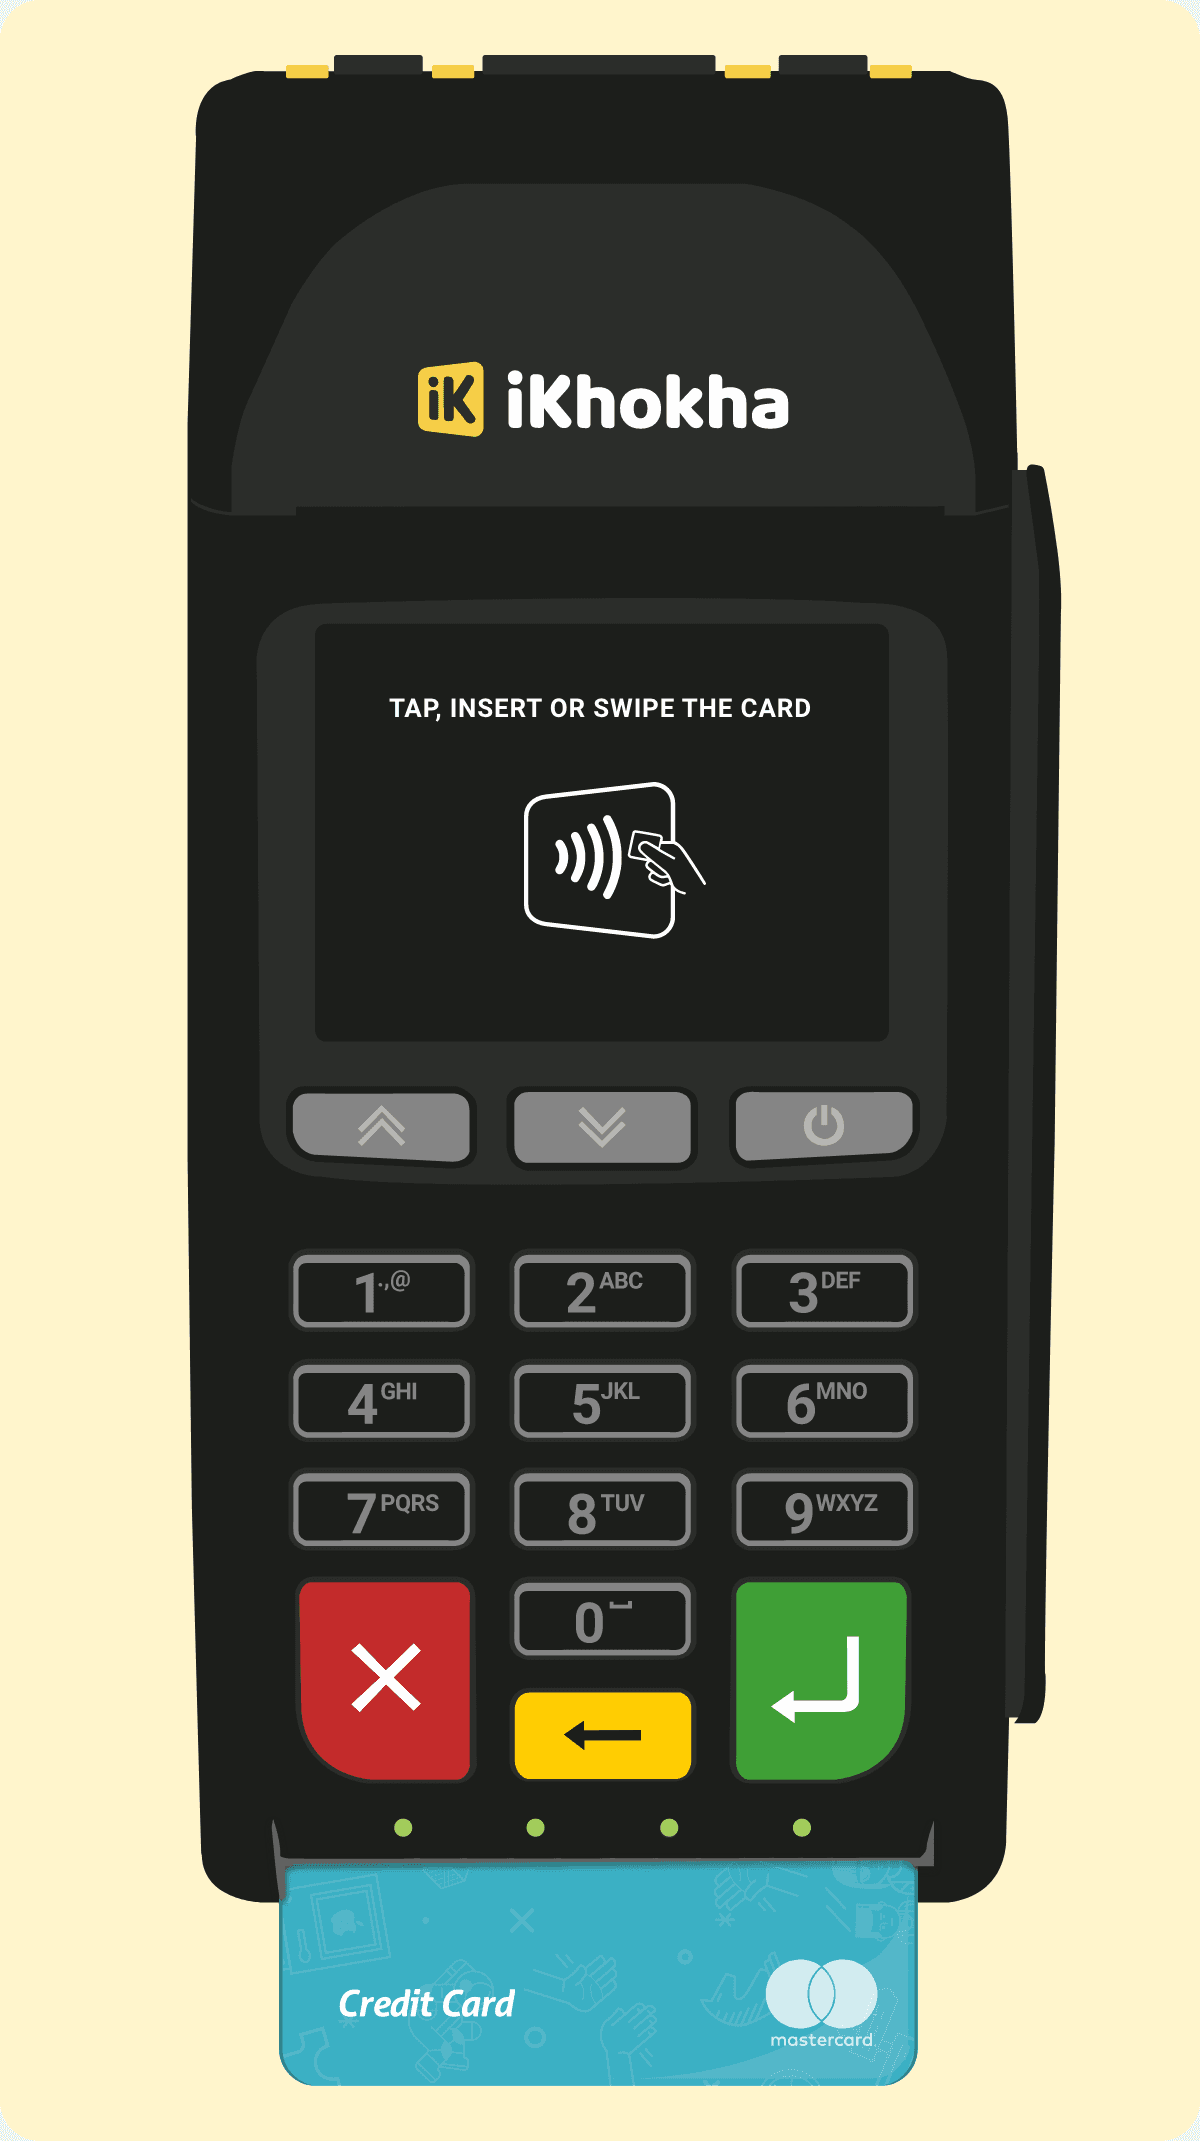
The first step to getting set up is making sure that the SIM card is inserted into Your Shaker Solo works on its own, so there's no phone pairing to worry about. Get the SIM and power sorted, and you're ready to take payments. Here's how.
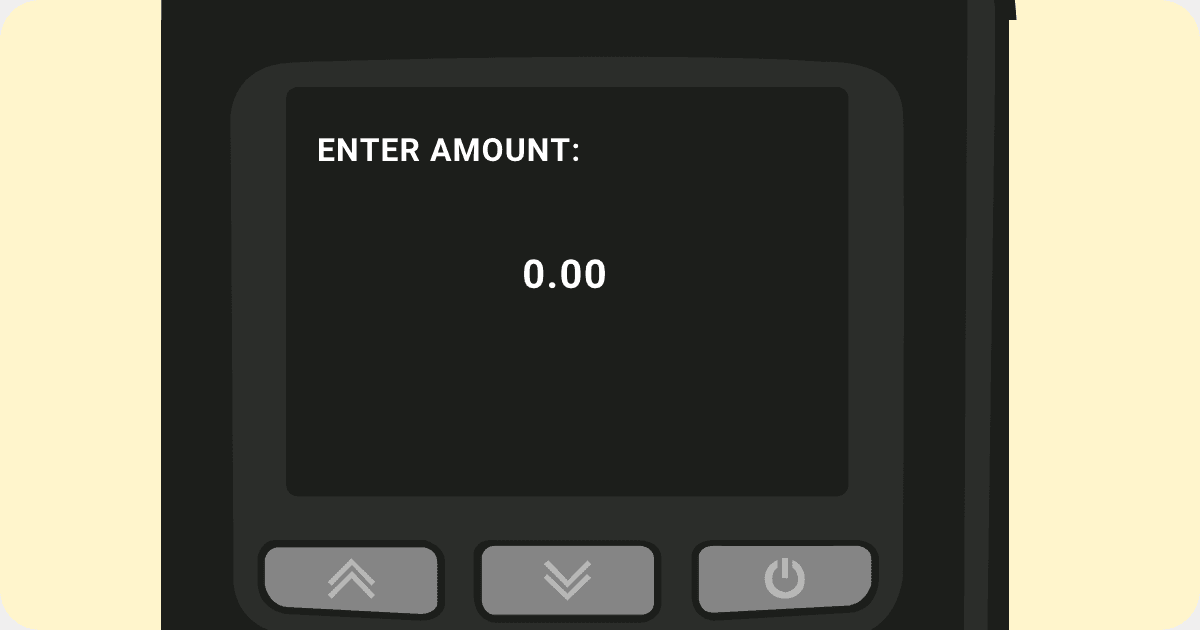
Next, switch on your Shaker Solo by holding down the power button and by following these steps:
Loading...
Loading...