How to Add Custom Reference Numbers on Your Receipts and Transactions
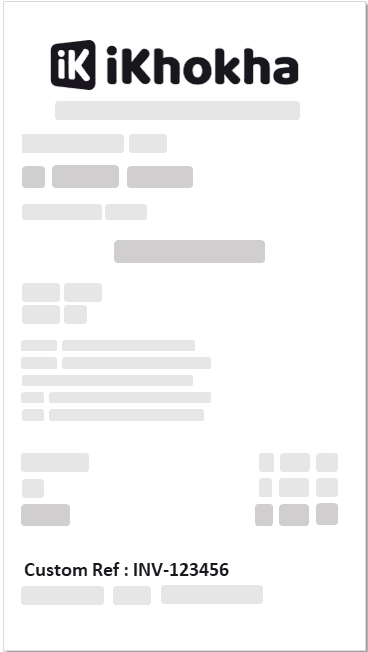
Custom reference numbers can be a useful tool for keeping track of transactions and reconciling them with receipts, sales and invoices. This guide will show you all you need to know about the feature of your Shaker Solo.
The guide covers the following topics:
Enabling and Disabling the Reference Number Feature
Performing a Transaction Using the Reference Number Feature Enabled
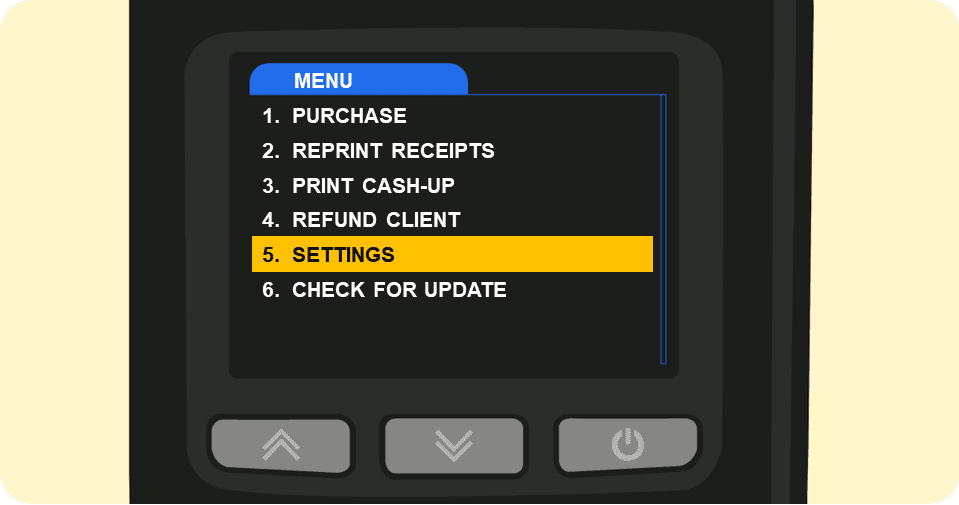
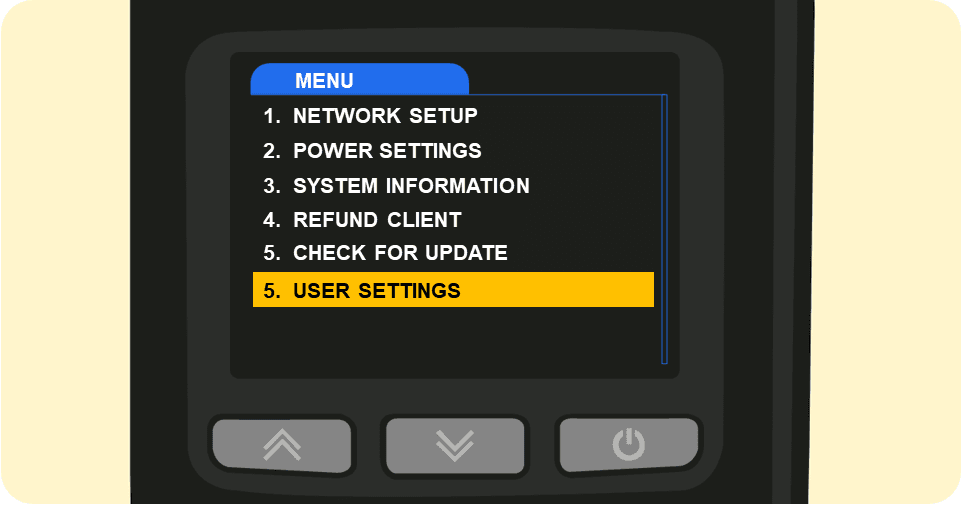
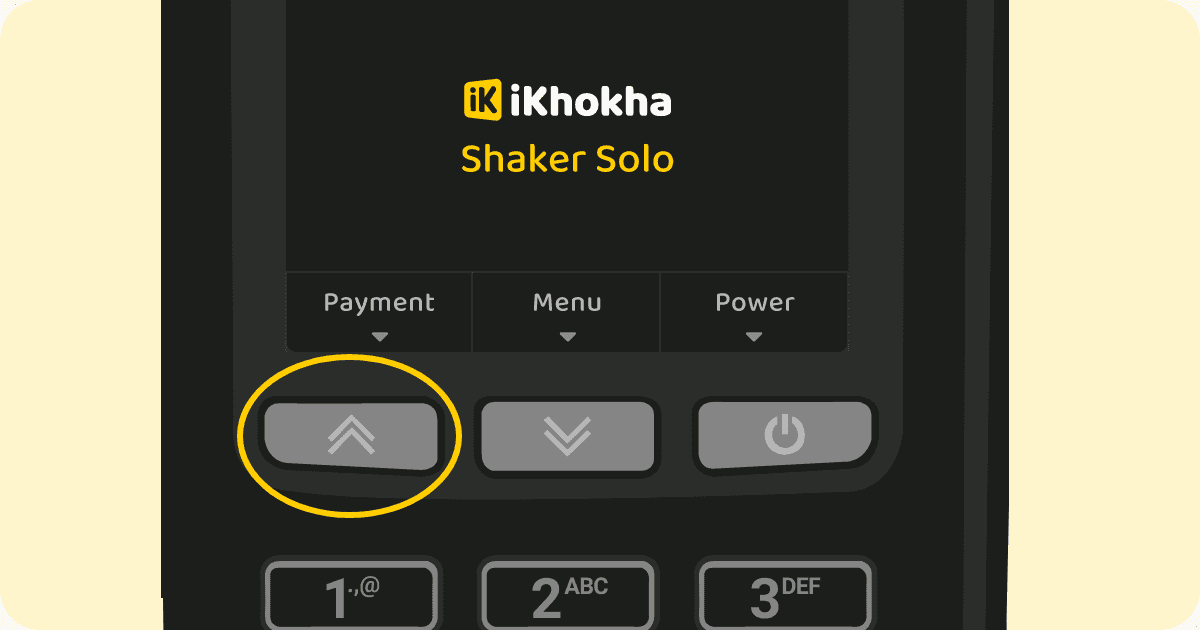
How to Enable and Disable the Reference Number Feature
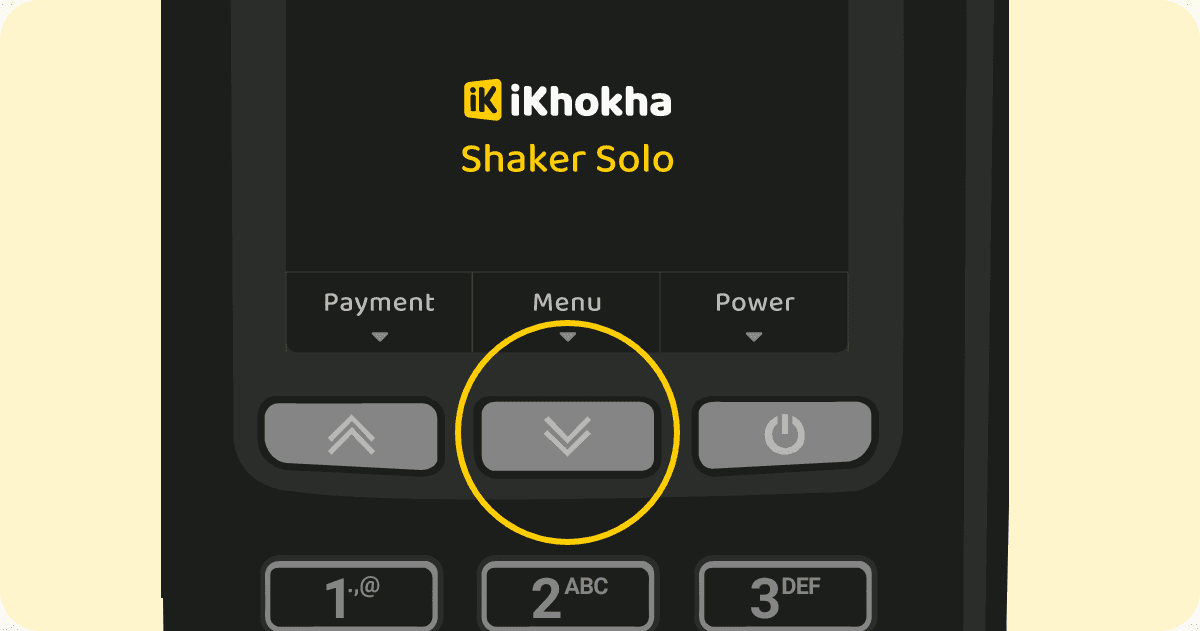
With your Shaker Solo powered on, follow these easy steps to Enable the Custom Reference Number functionality.
Loading...
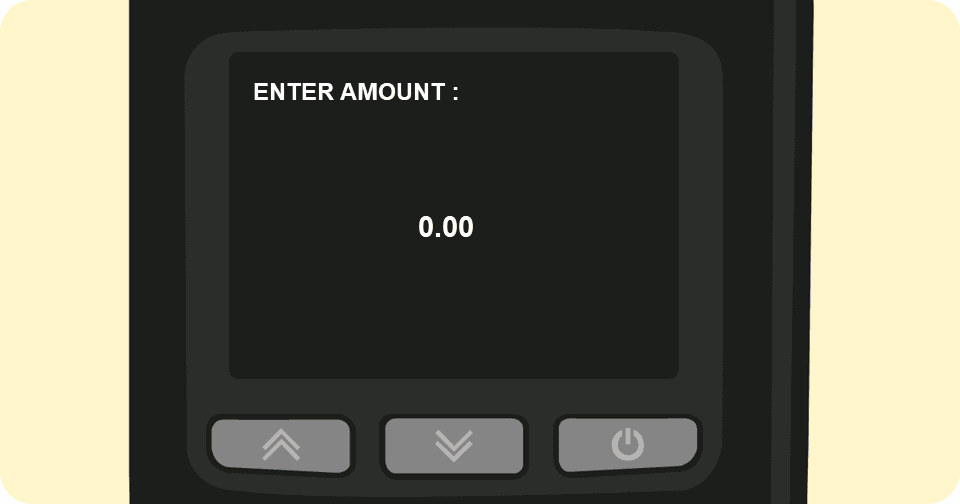
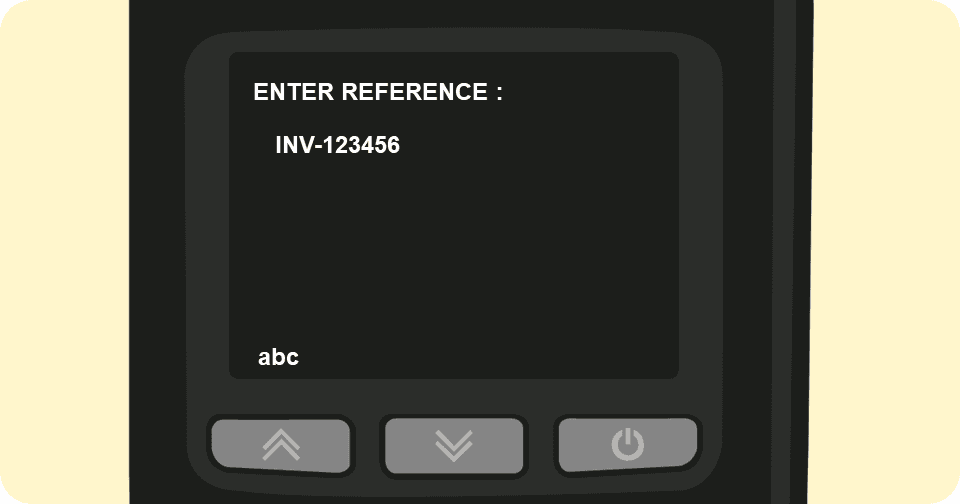
Performing a Transaction Using the Reference Number Feature Enabled
Loading...
Loading...
Loading...
If you need further assistance with this functionality, please don't hesitate to contact us. You can send us an email at support@ikhokha.com, or call iKhokha at 087 222 7000.
We're always ready to help you with any questions or issues you may have.
Loading...