Setting Up Your iK Pay Gateway Plugin on WooCommerce
Follow these simple steps to enjoy an easier and more affordable way to accept payments on your WordPress website.
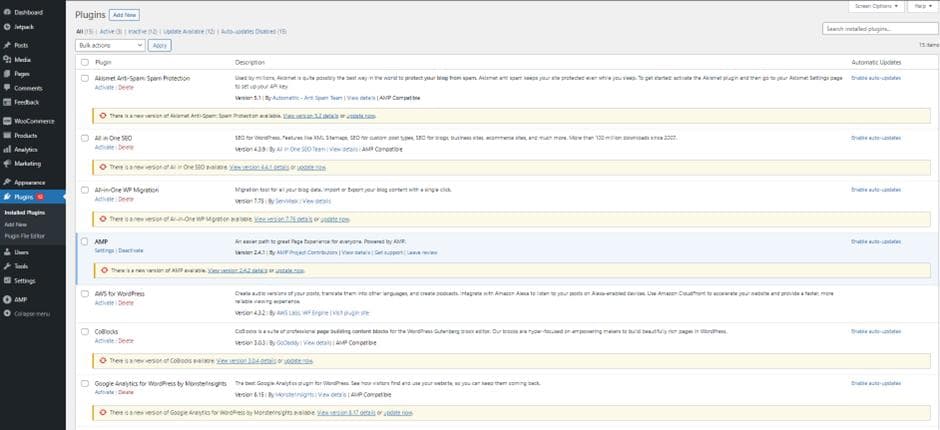
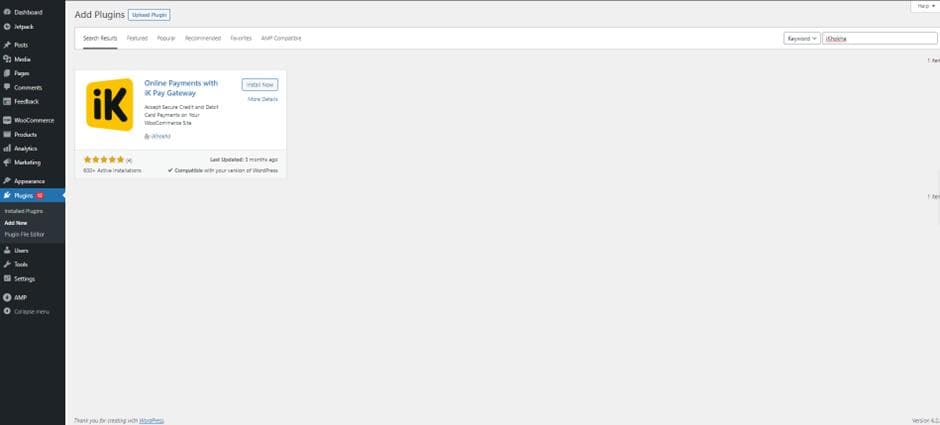
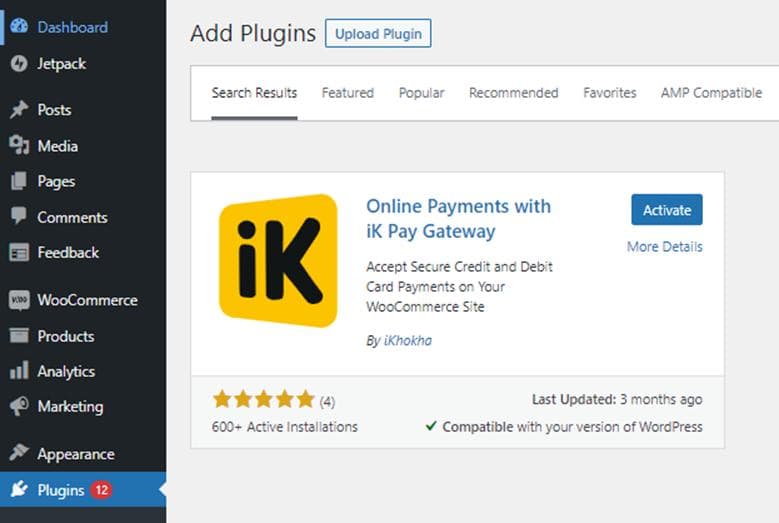
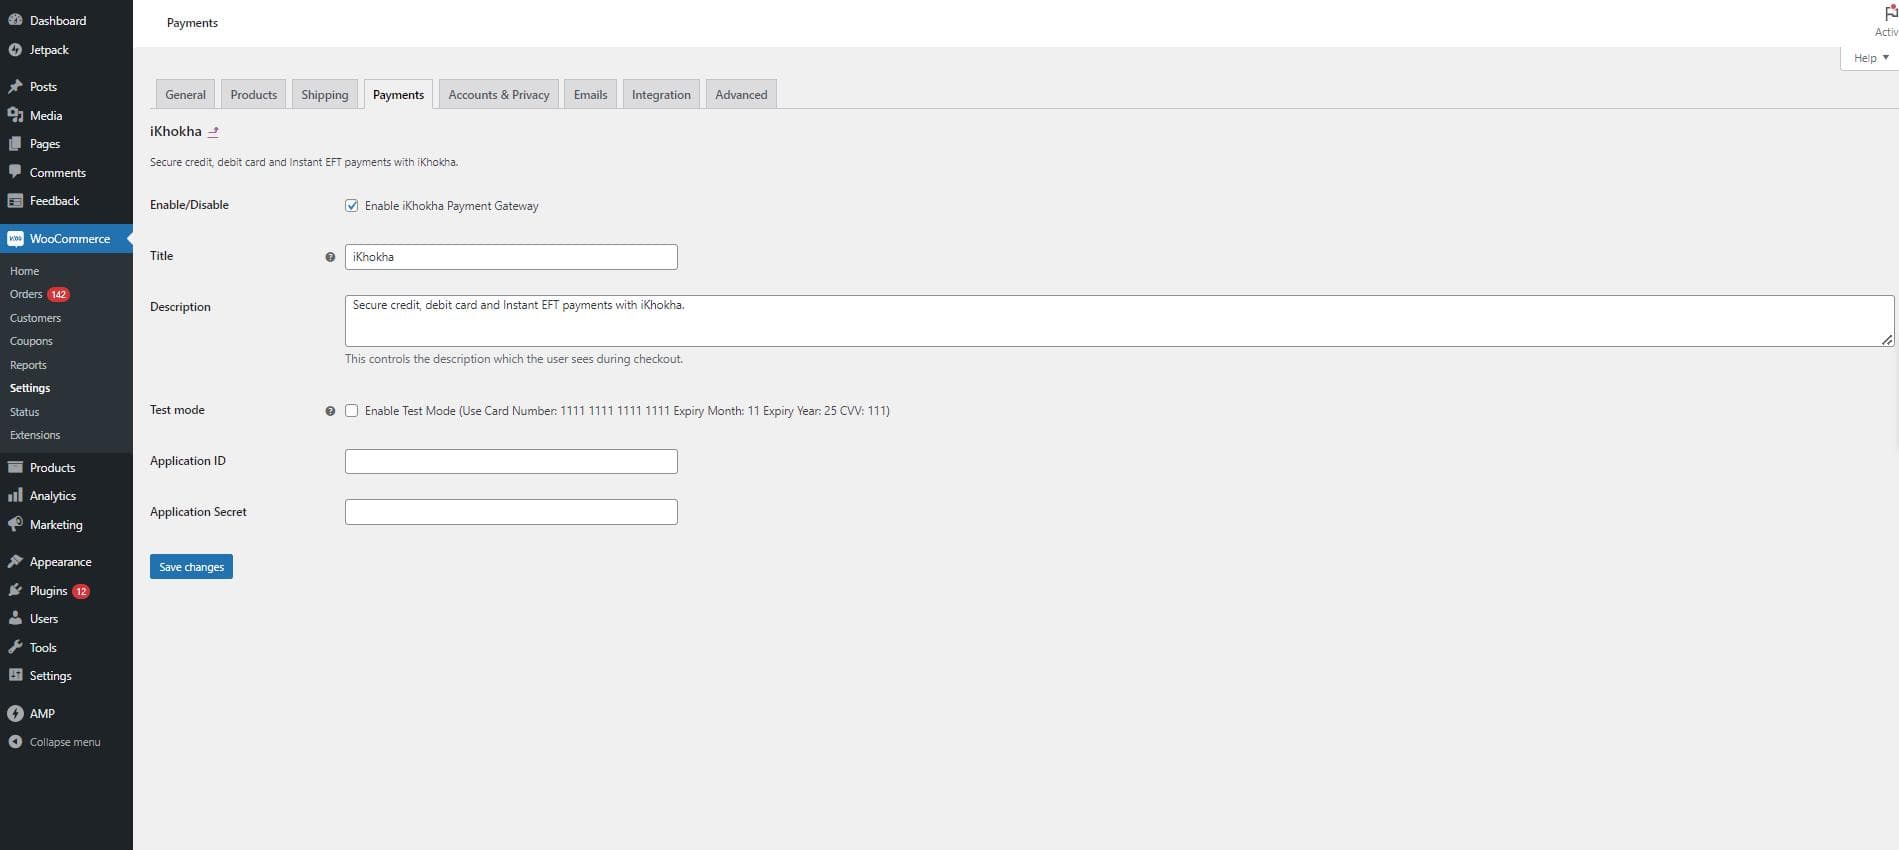
To integrate iK Pay Gateway into your WooCommerce website, you need to:
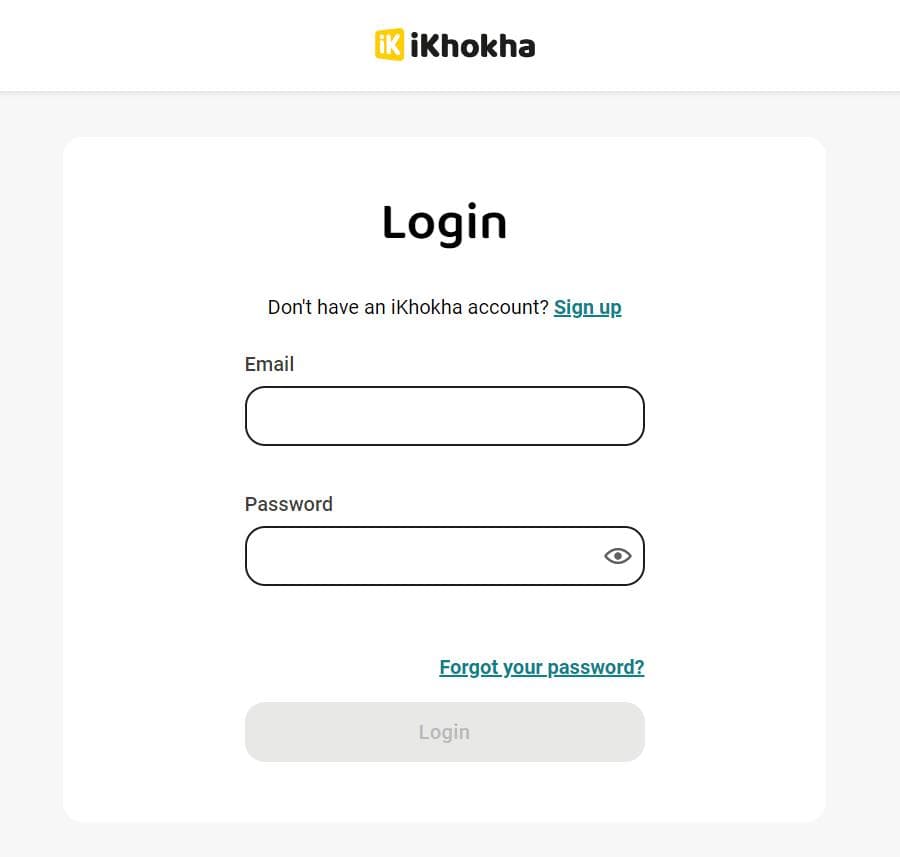
Login:
Note: For security purposes, you may be prompted to update your password (please update if asked)
Loading...
Loading...
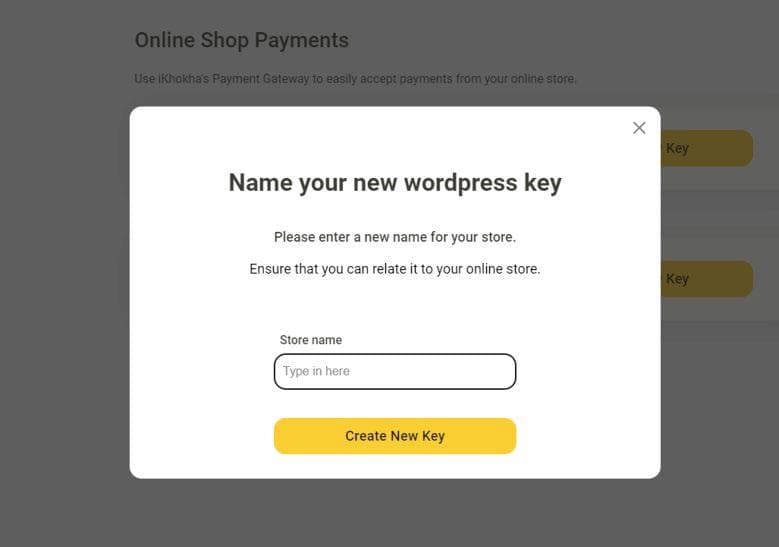
Name your store:
Note: Naming your store is for reference purposes only and won’t be displayed anywhere customer facing, nor does it validate with WordPress whether the stores are a match
Loading...
Loading...
Loading...
Loading...
Loading...
Loading...
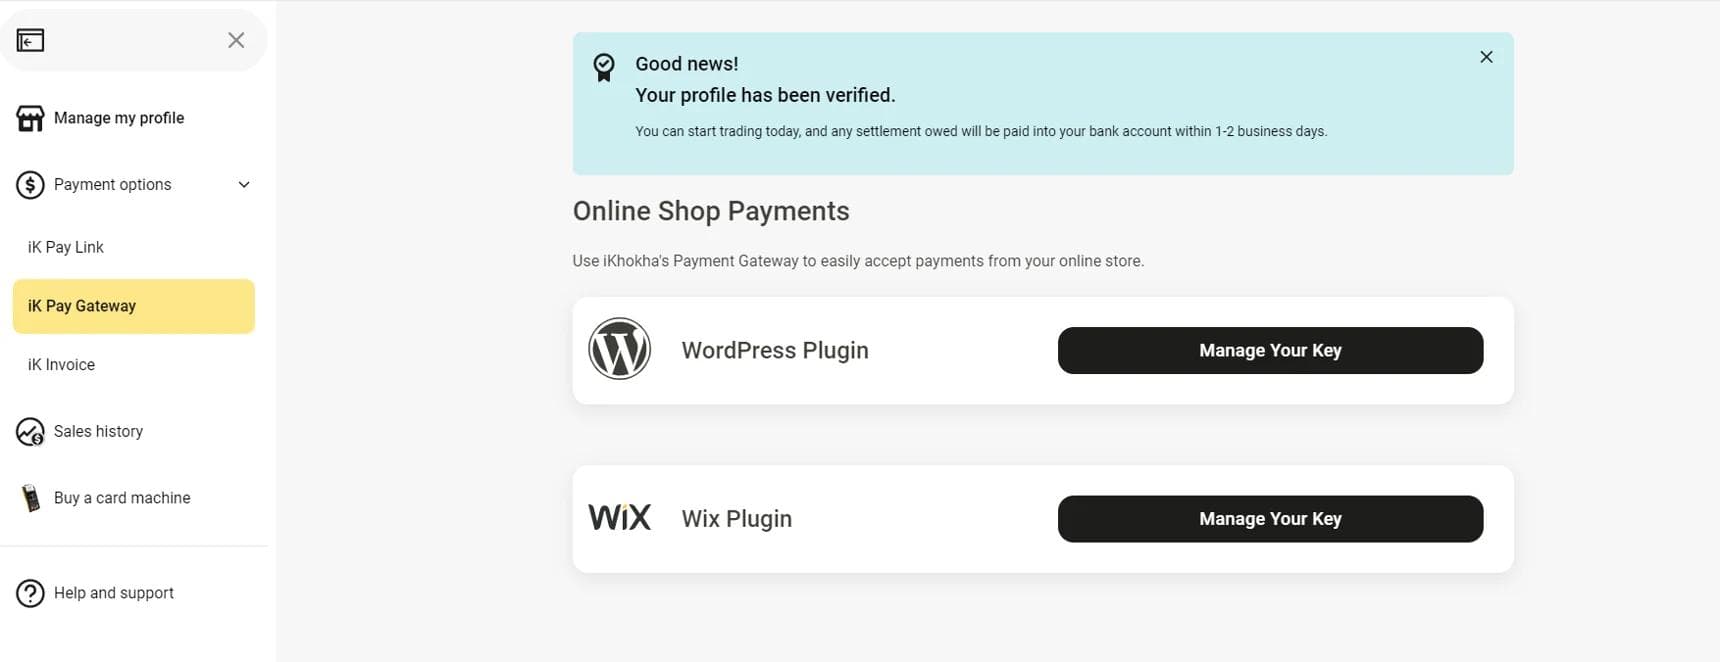
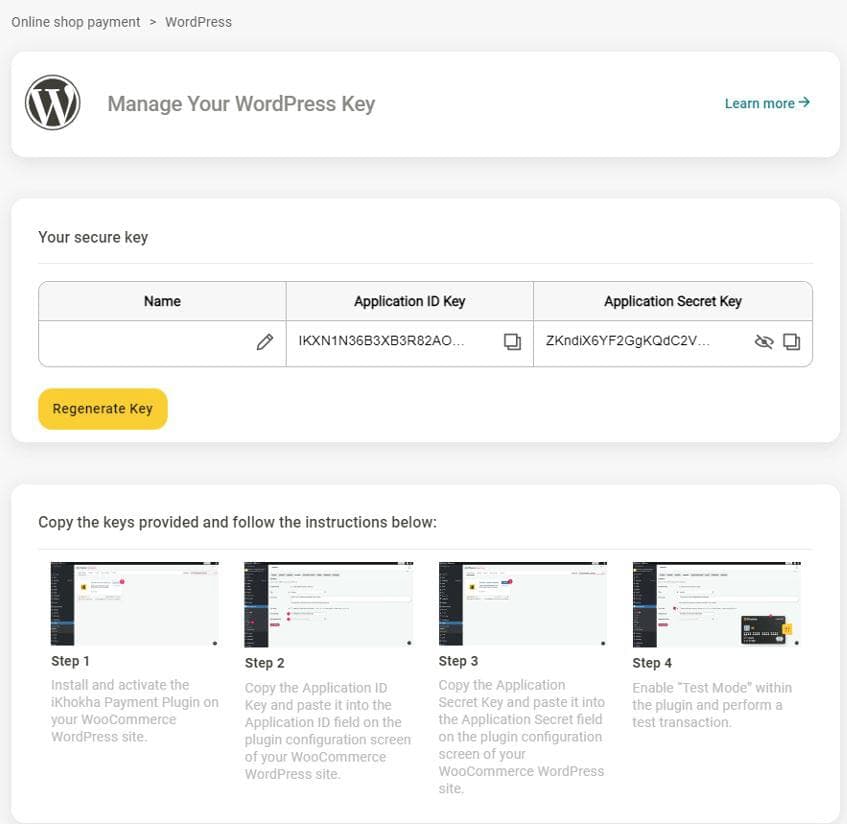
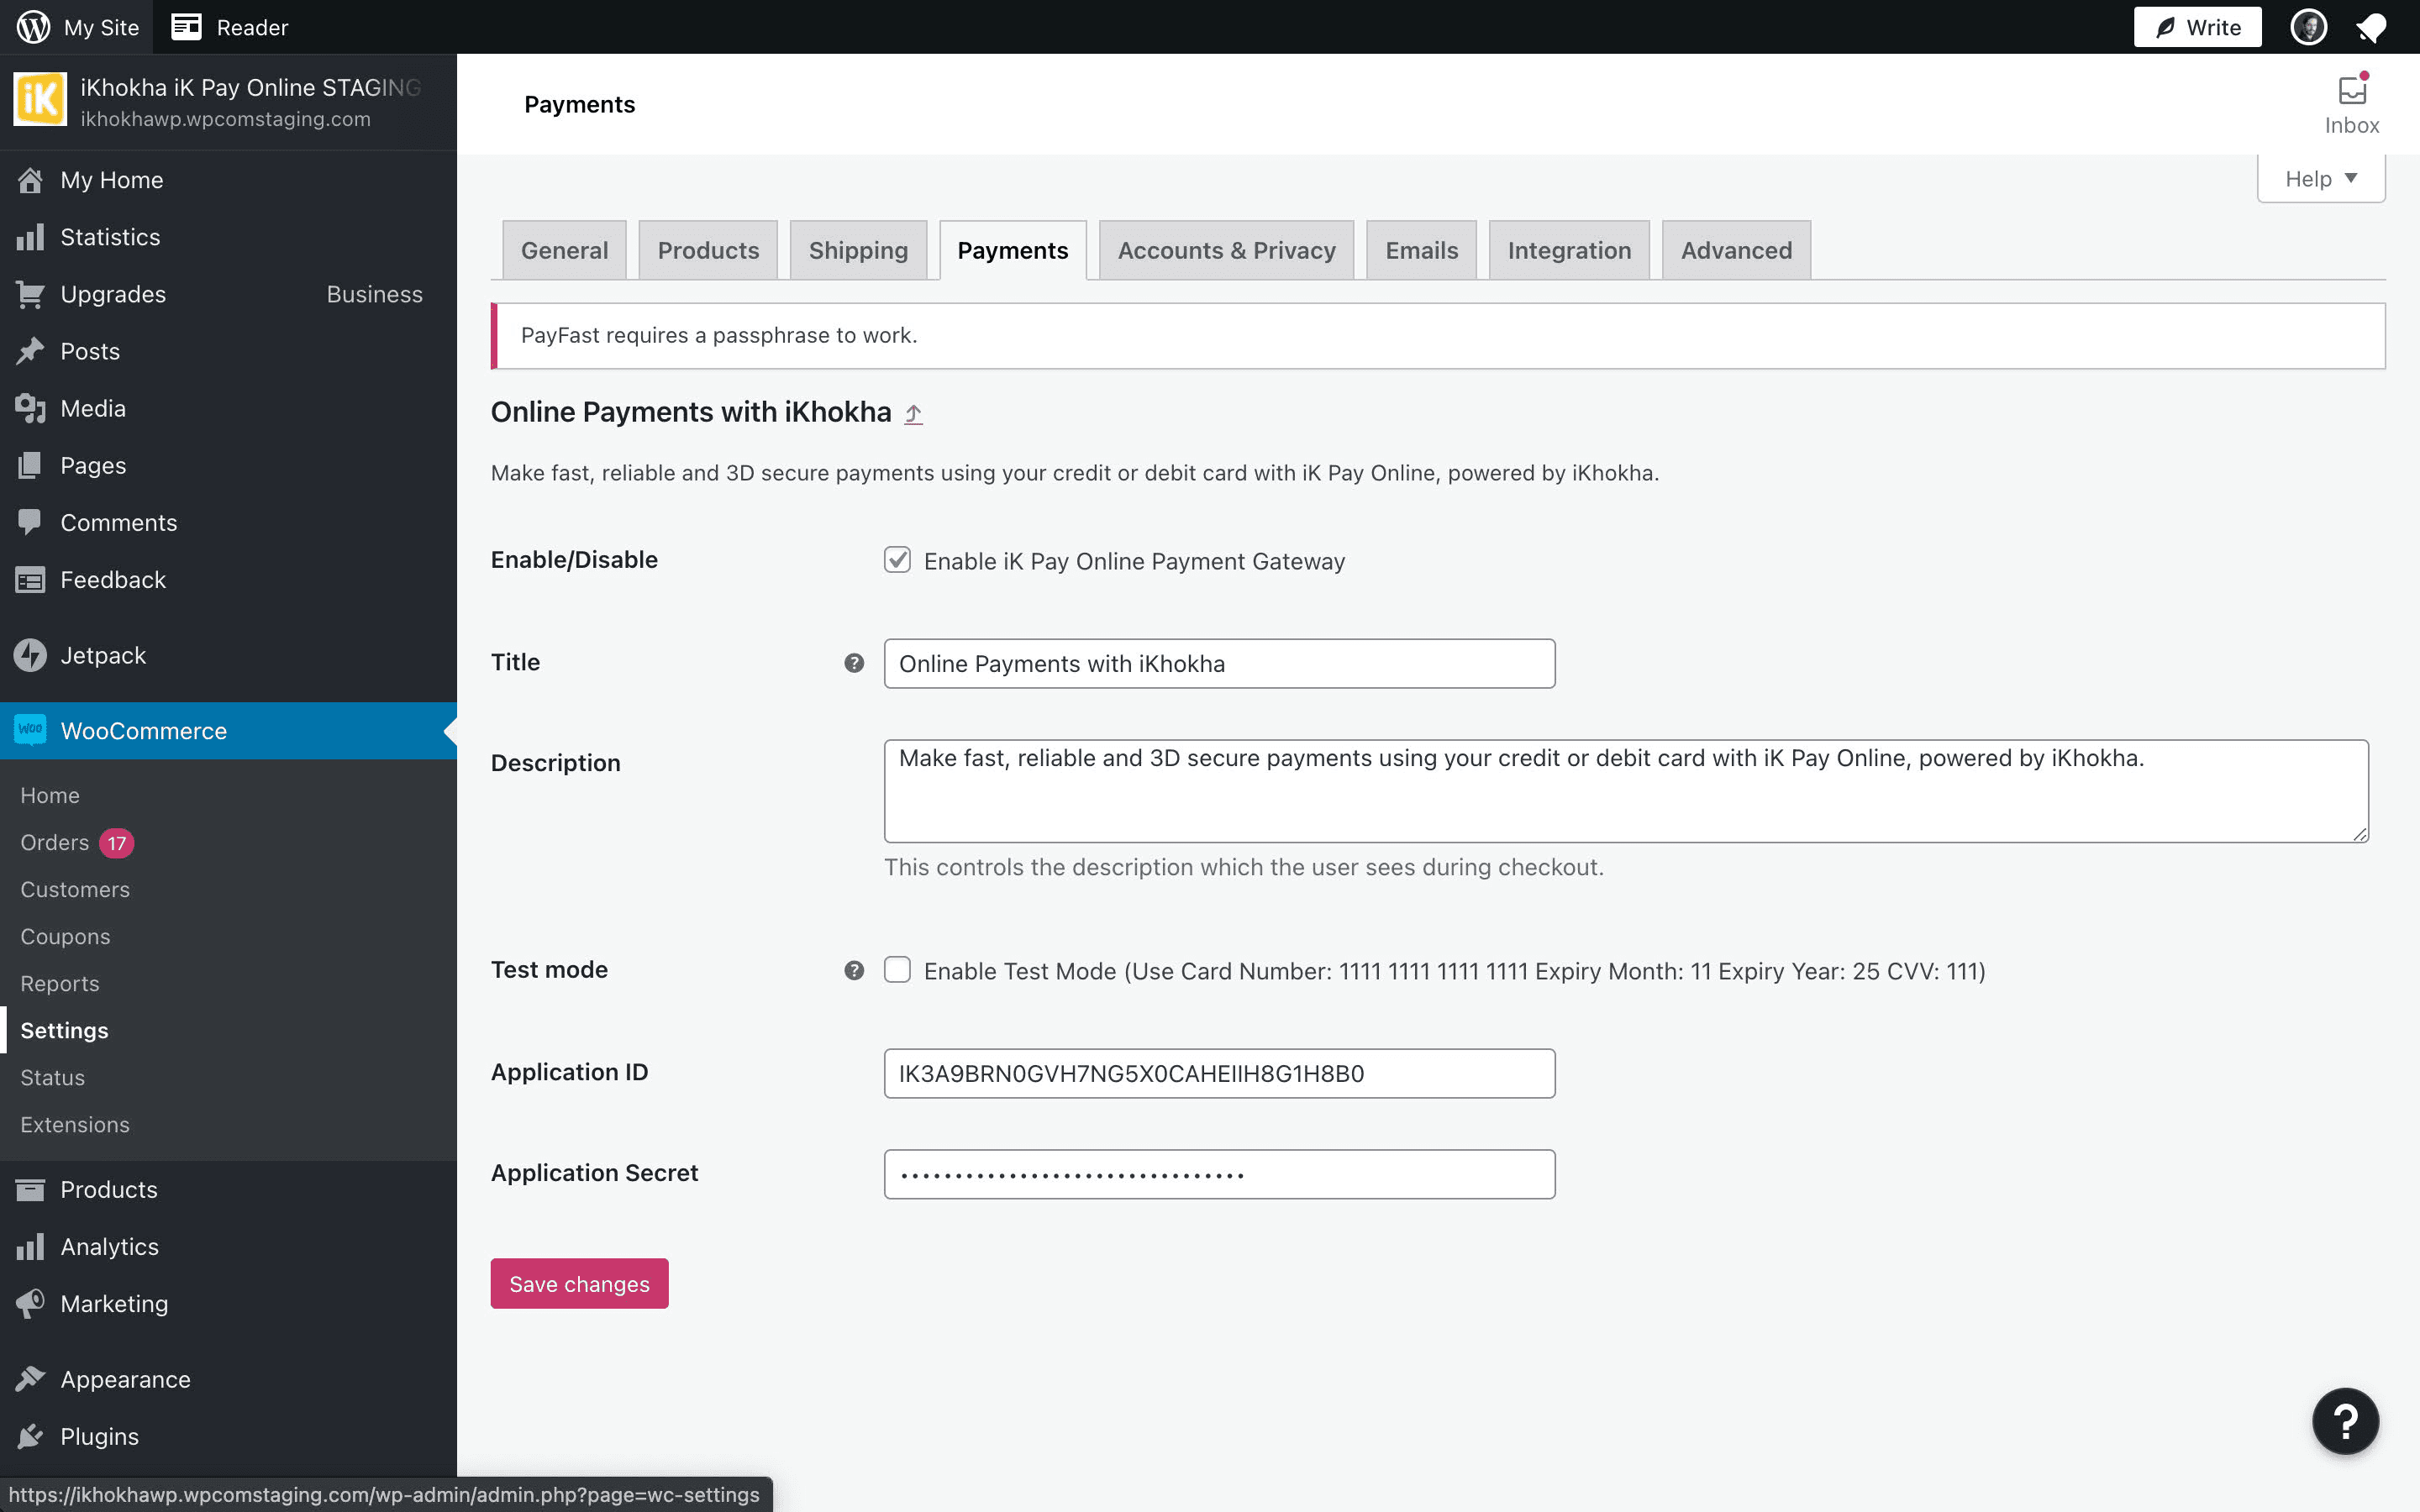
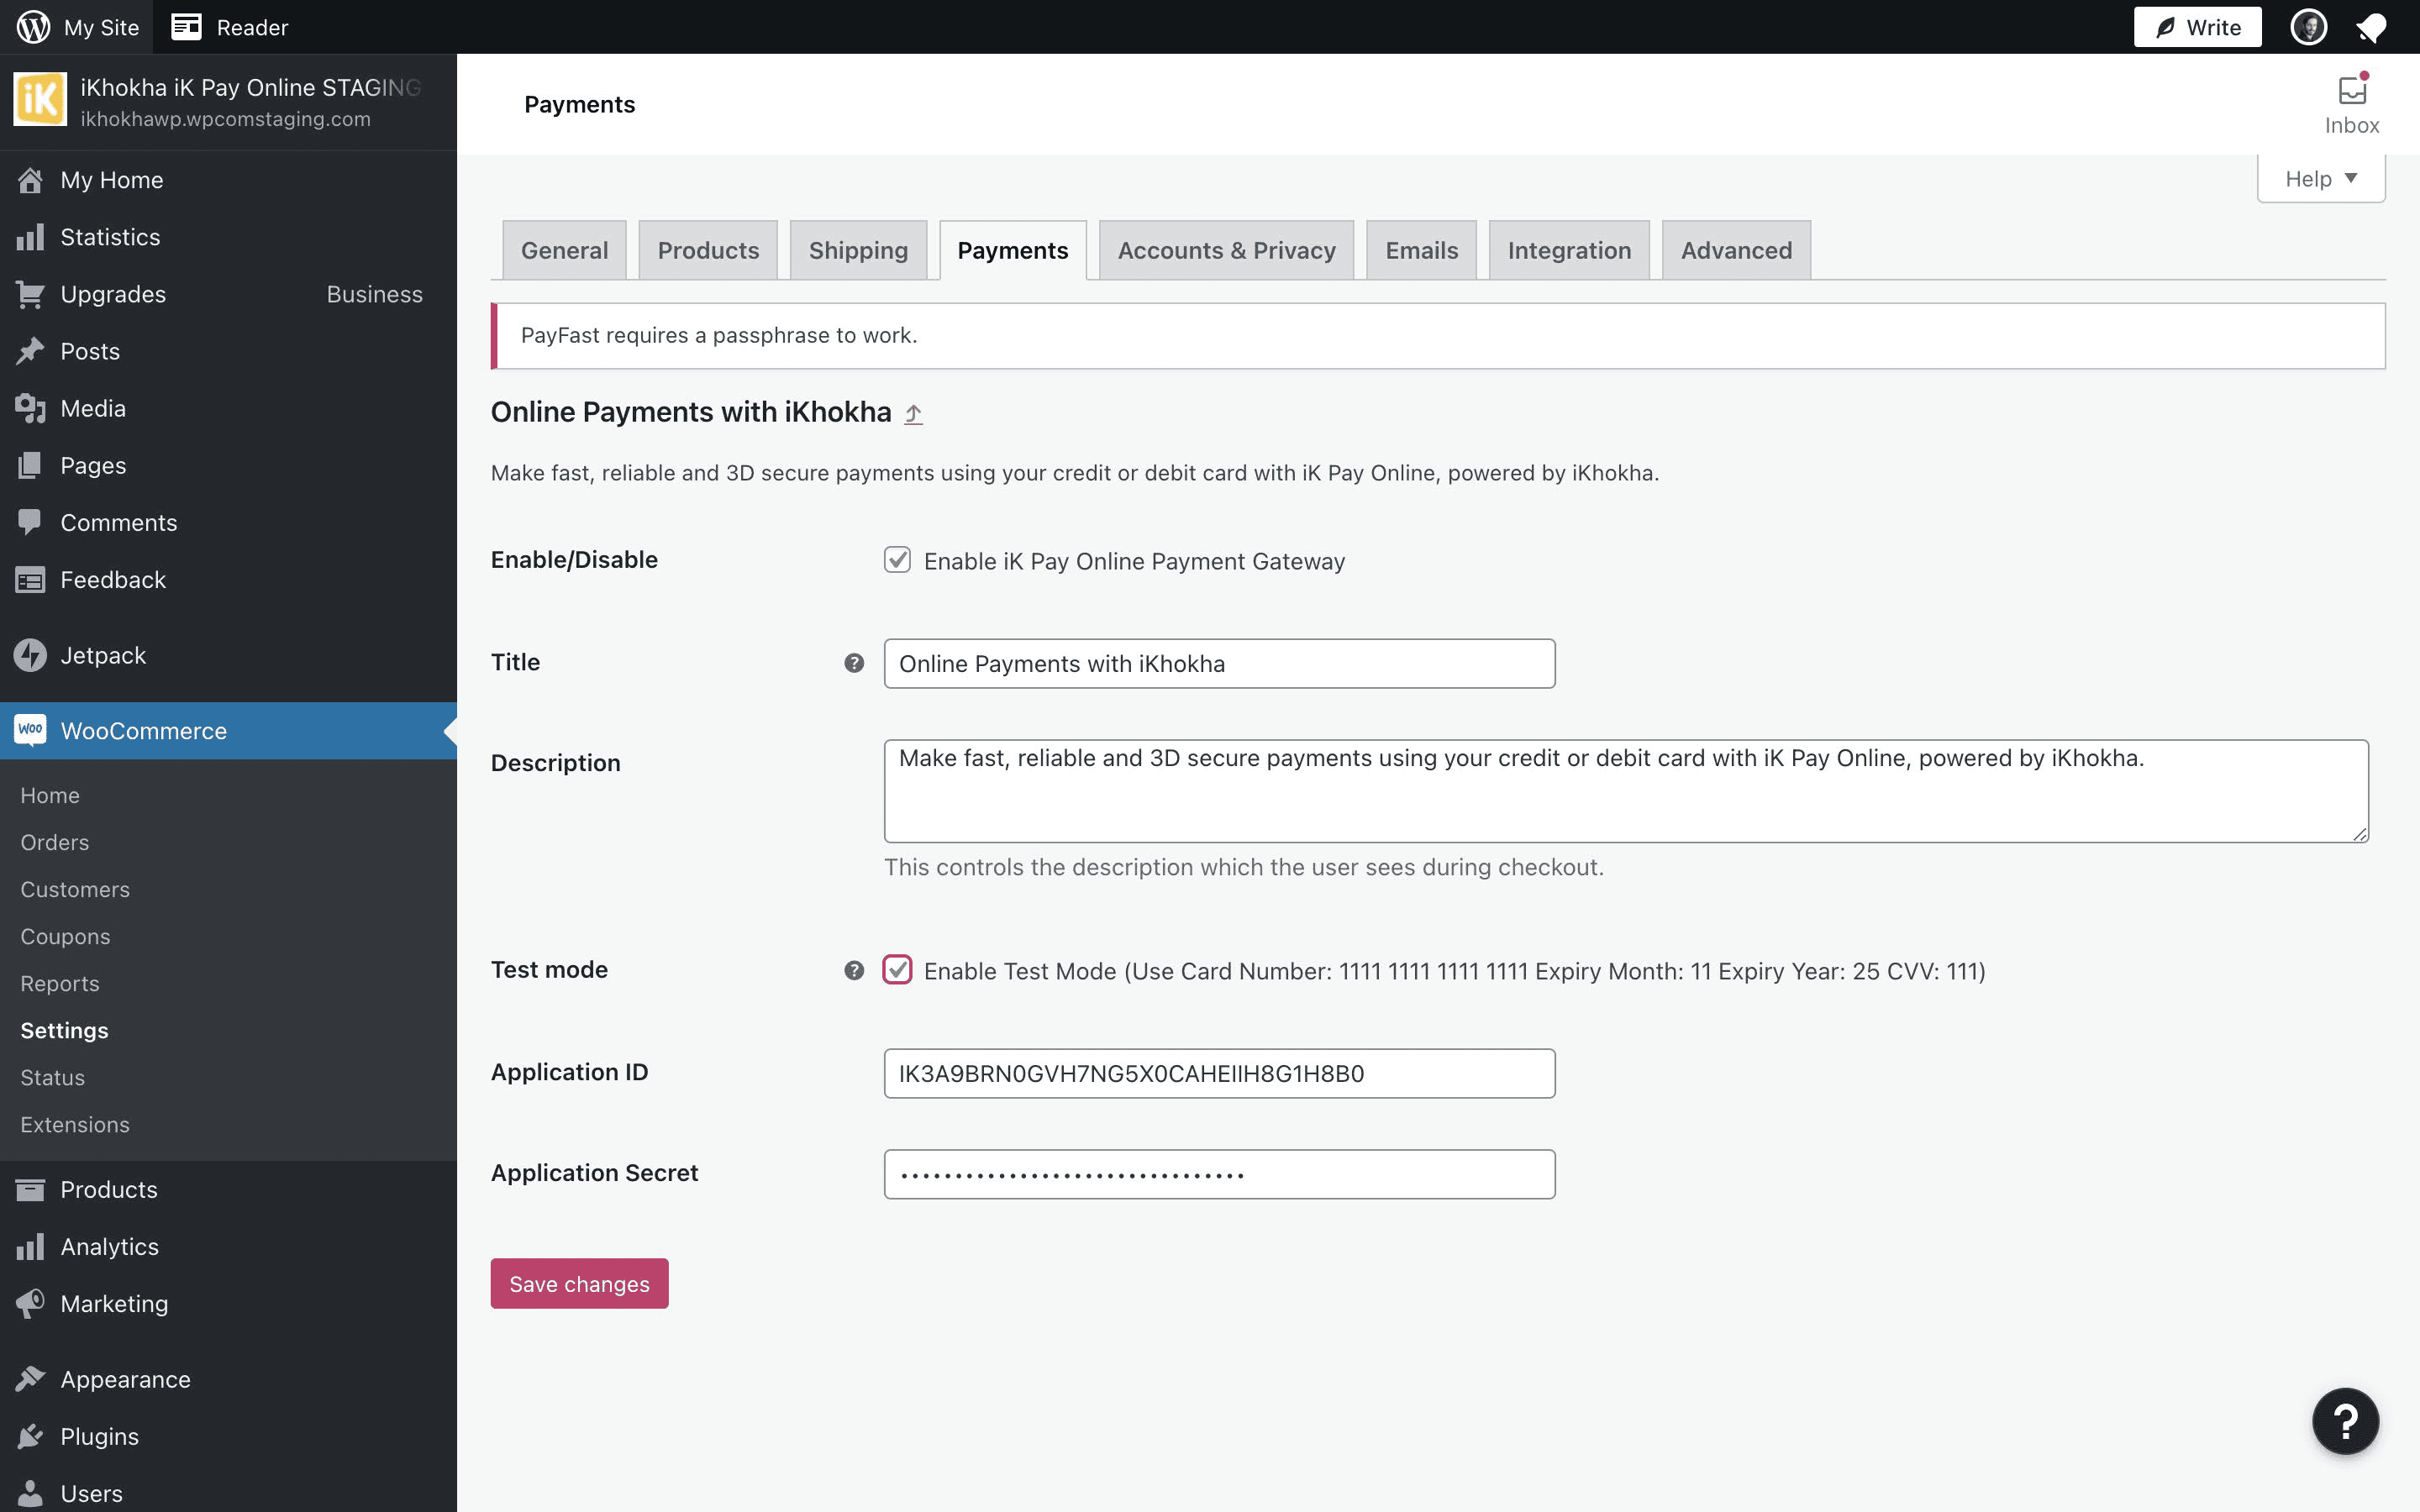
Merchant Profile:
Note: The next few steps will need you to switch between your iKhokha merchant profile and WooCommerce screens.
Loading...
Loading...
Loading...
Loading...
Loading...
Loading...