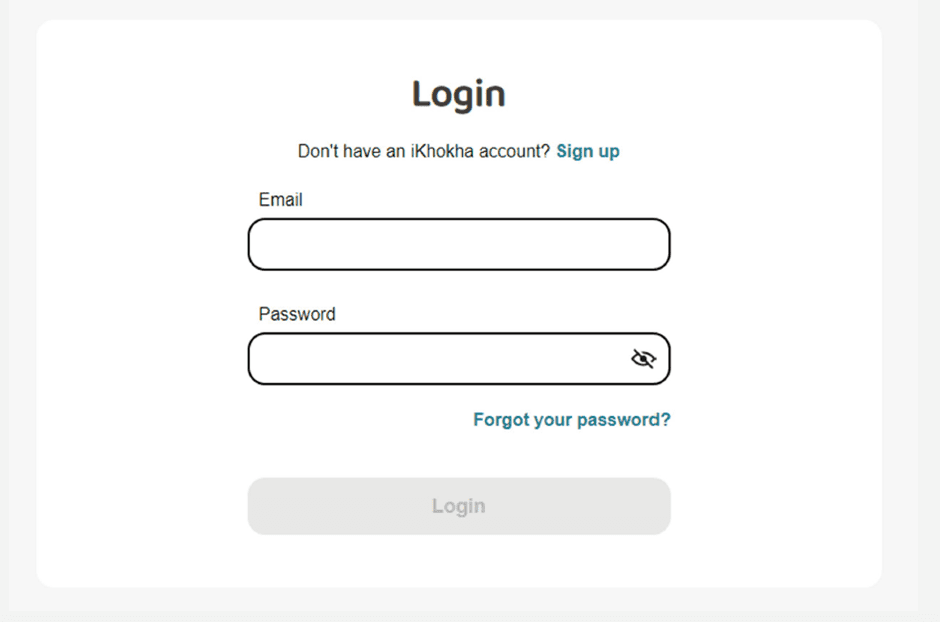
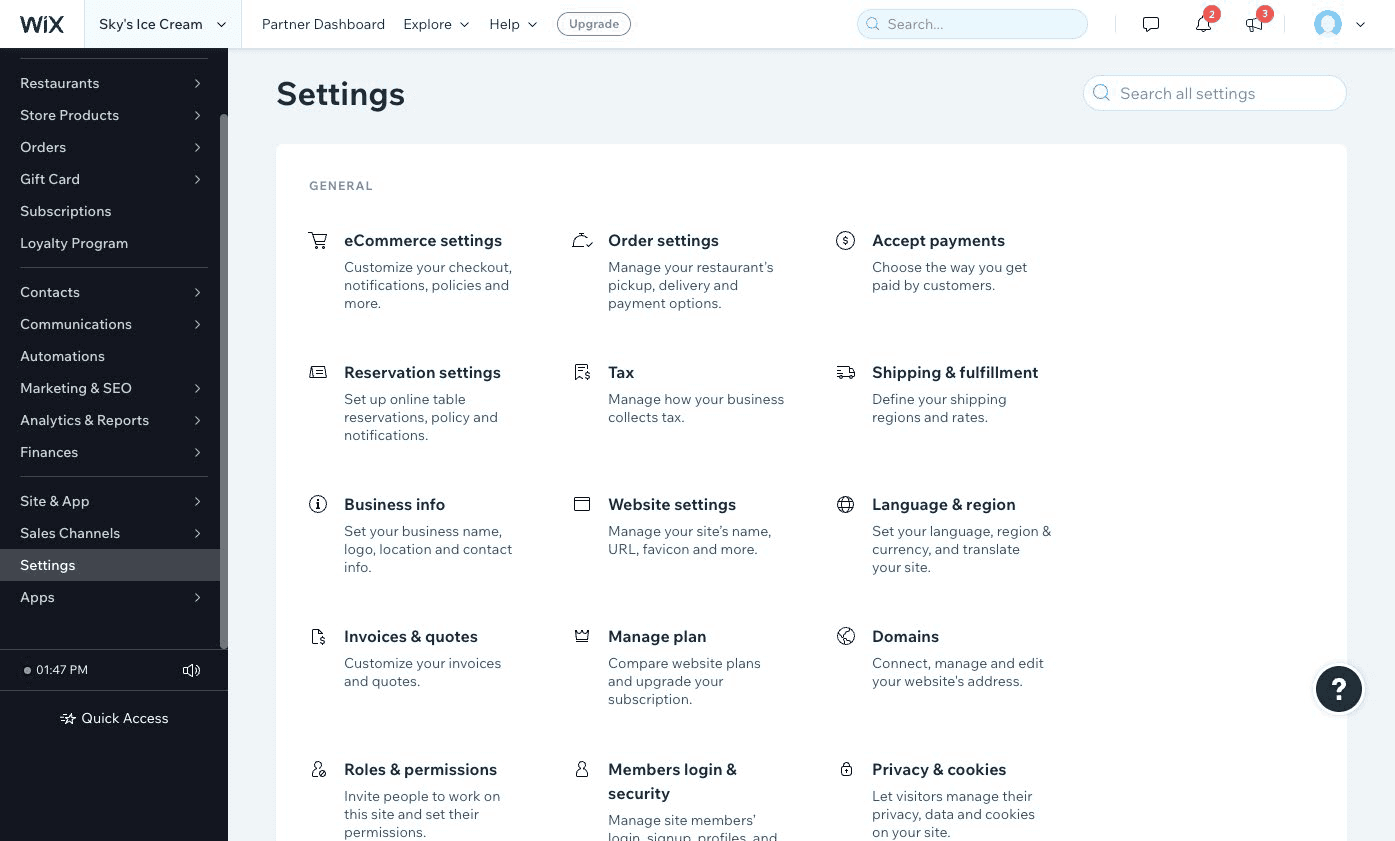
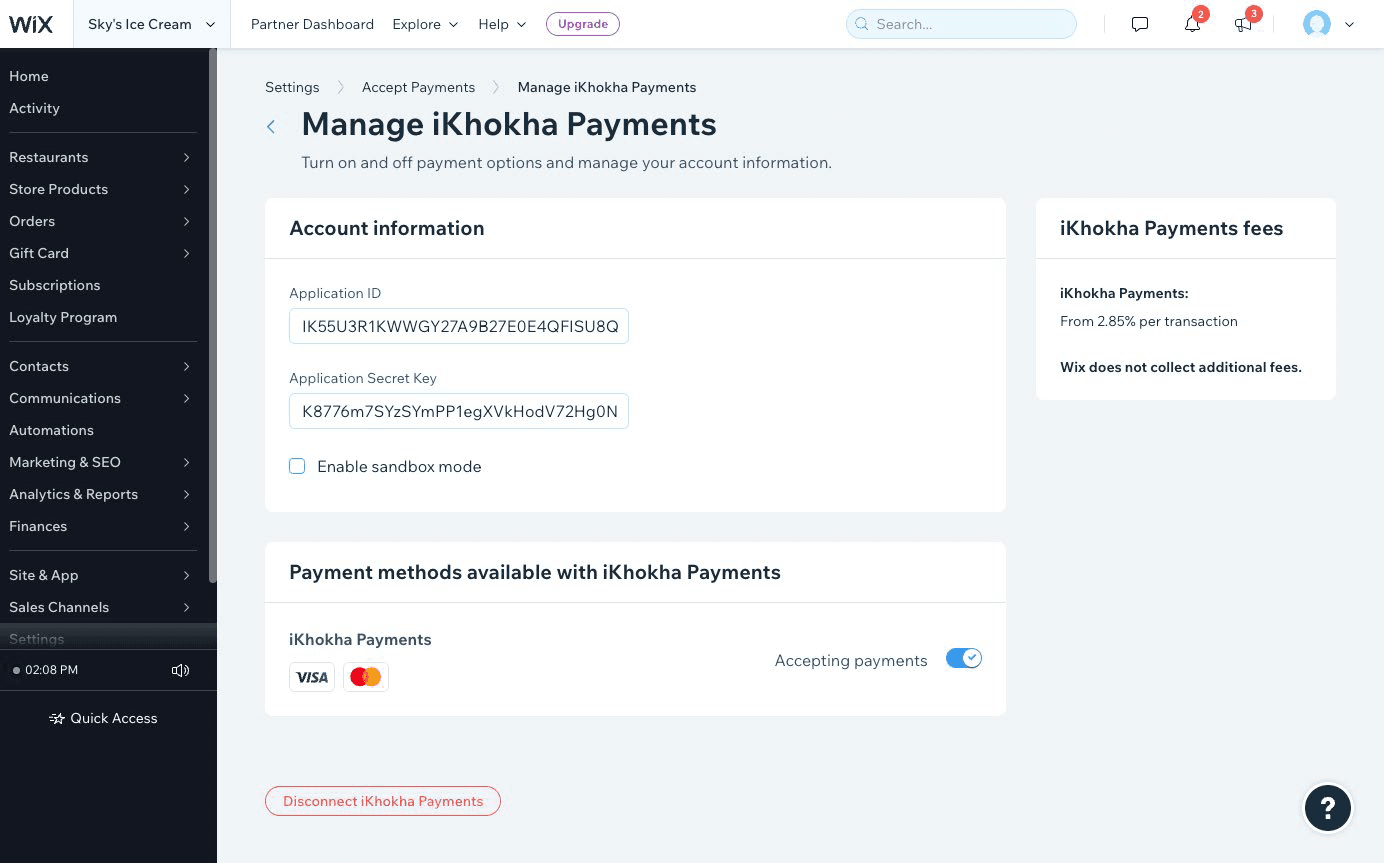
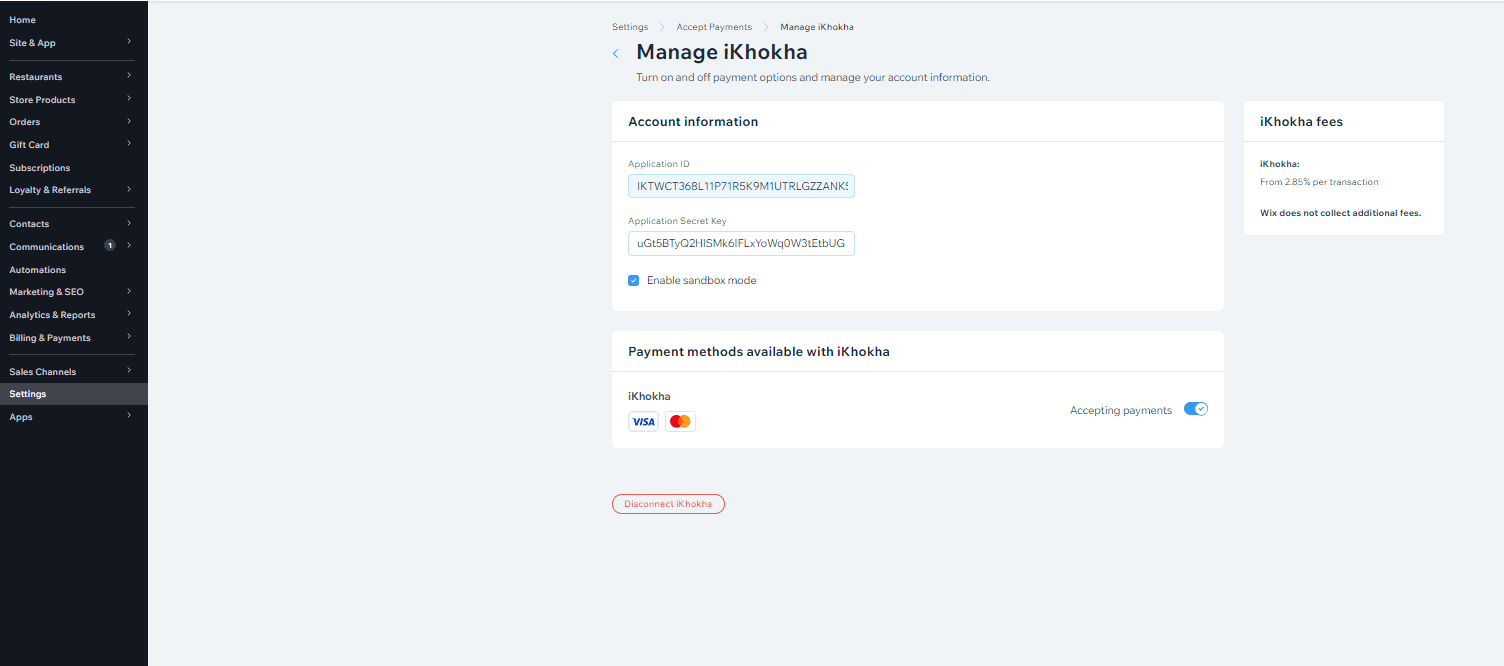
Setting Up Your iK Pay Gateway Plugin on WiX

Follow these simple steps to enjoy an easier and more affordable way to accept payments on your WiX website.

To integrate iK Pay Gateway into your WiX website, you need to:

  1. Generate a key by logging into your iKhokha dashboard. Click here.

    Note: For security purposes, you may be prompted to update your password (please update, if asked).


  2. After you’ve successfully logged in:
    Click on the “Payment options” drop down menu on the left, and select “Online shop payment”. Select the “Generate New Key” next to the “Wix Plugin” option..

    WIXKey1

  3. You will be prompted to provide your store with a name.
    (Please Note: Naming your store is for reference purposes only and won’t be
    displayed anywhere customer facing nor does it form part of the validation
    with the Wix system.)


  4. Log into your   admin dashboard and navigate to “Settings”.


  5. Find and click the thumbnail “Accept payments”.


  6. Click “See More Payment Options”.


  7. Find the “iKhokha” plugin and click “Connect
    Note: If you don’t see the “iKhokha Payment” option, change your
    Language & Region to South Africa in Settings.


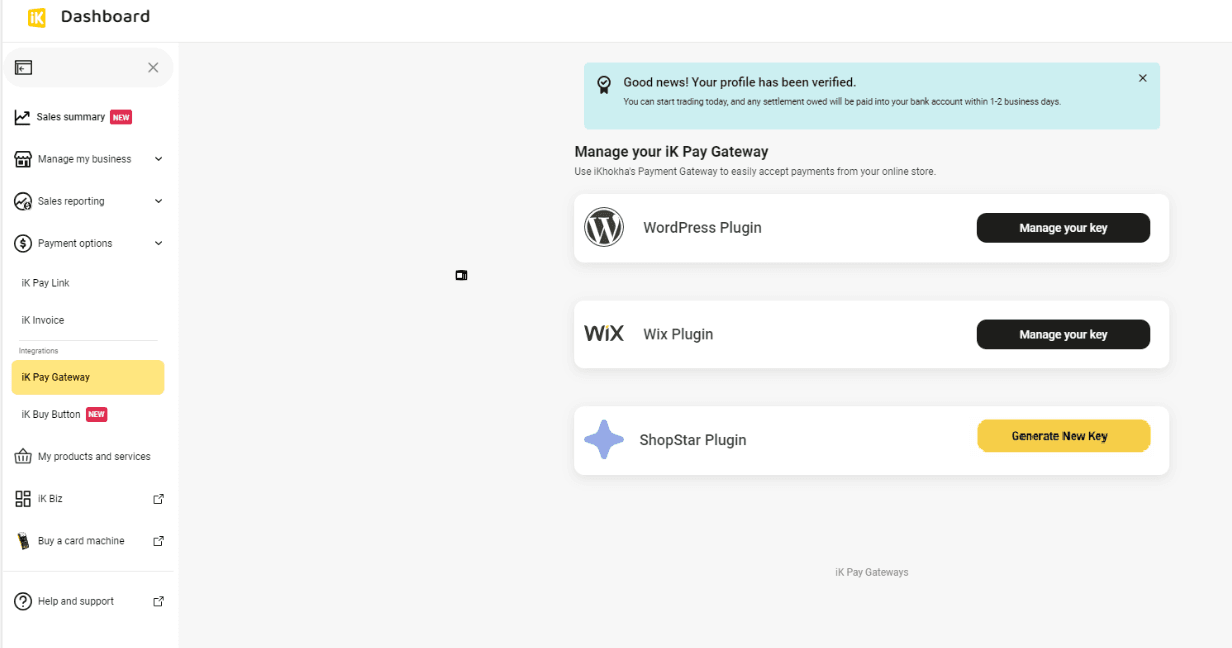
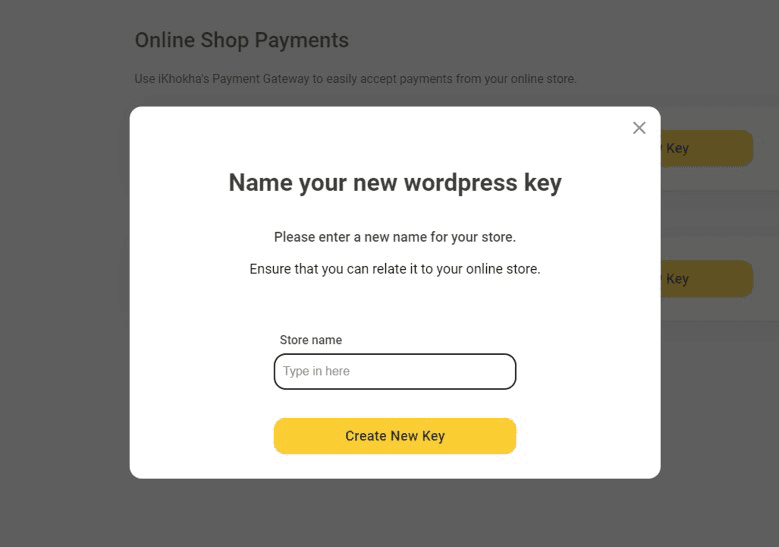
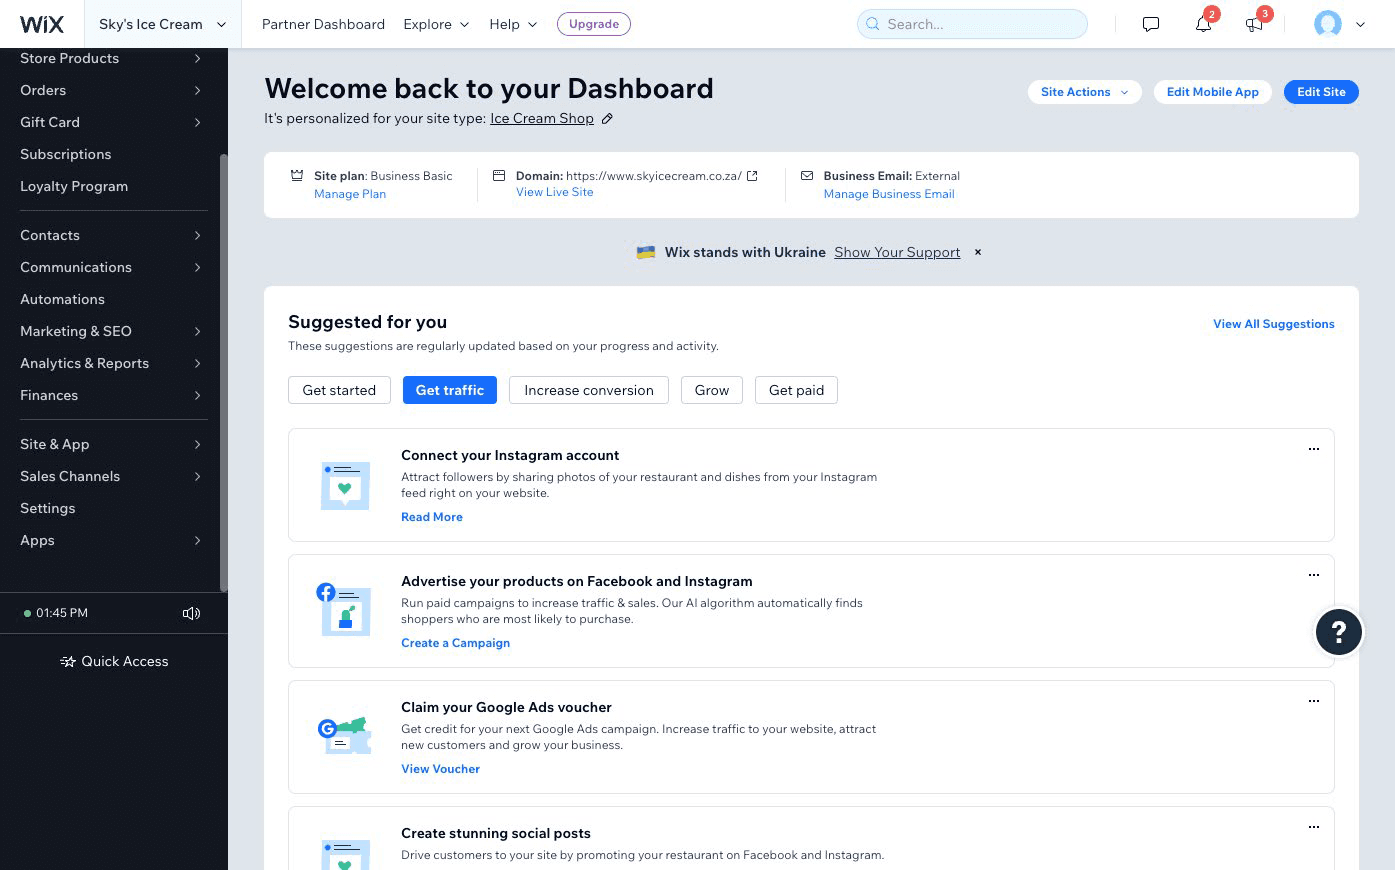
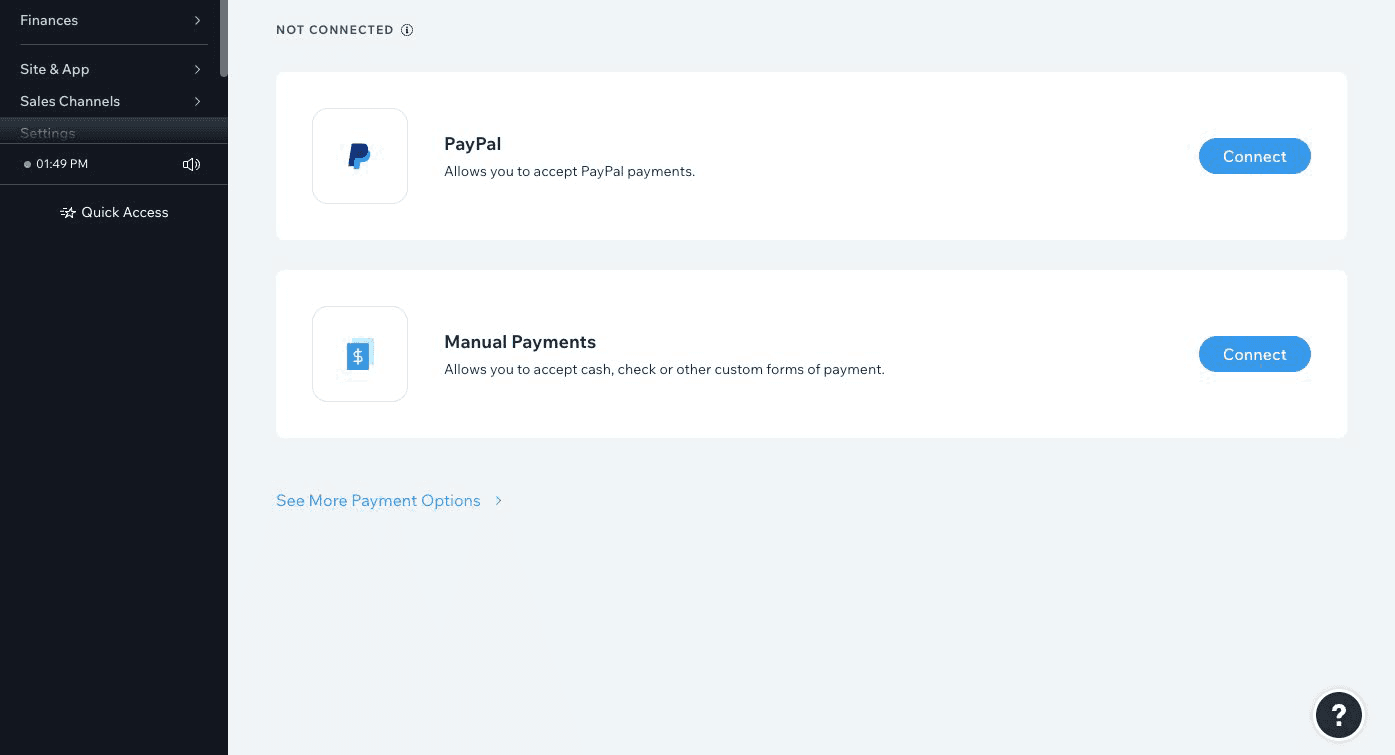
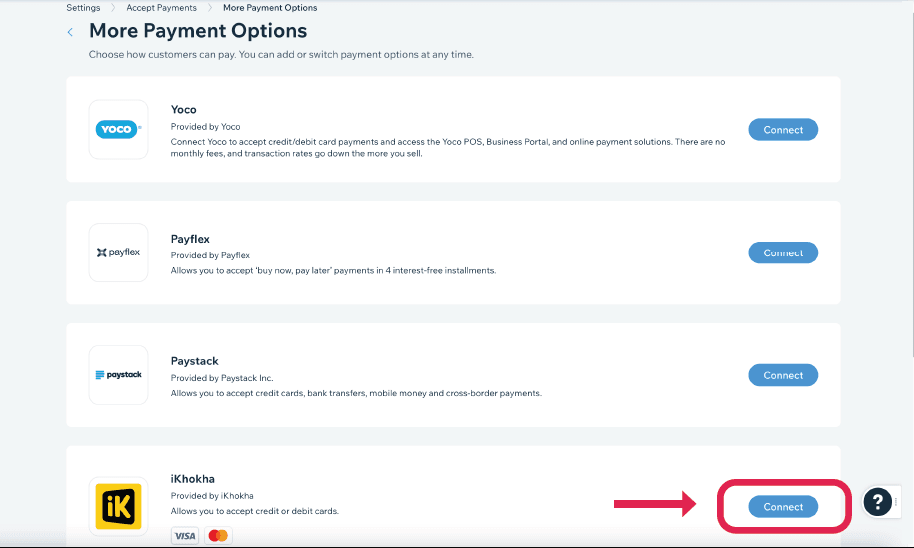
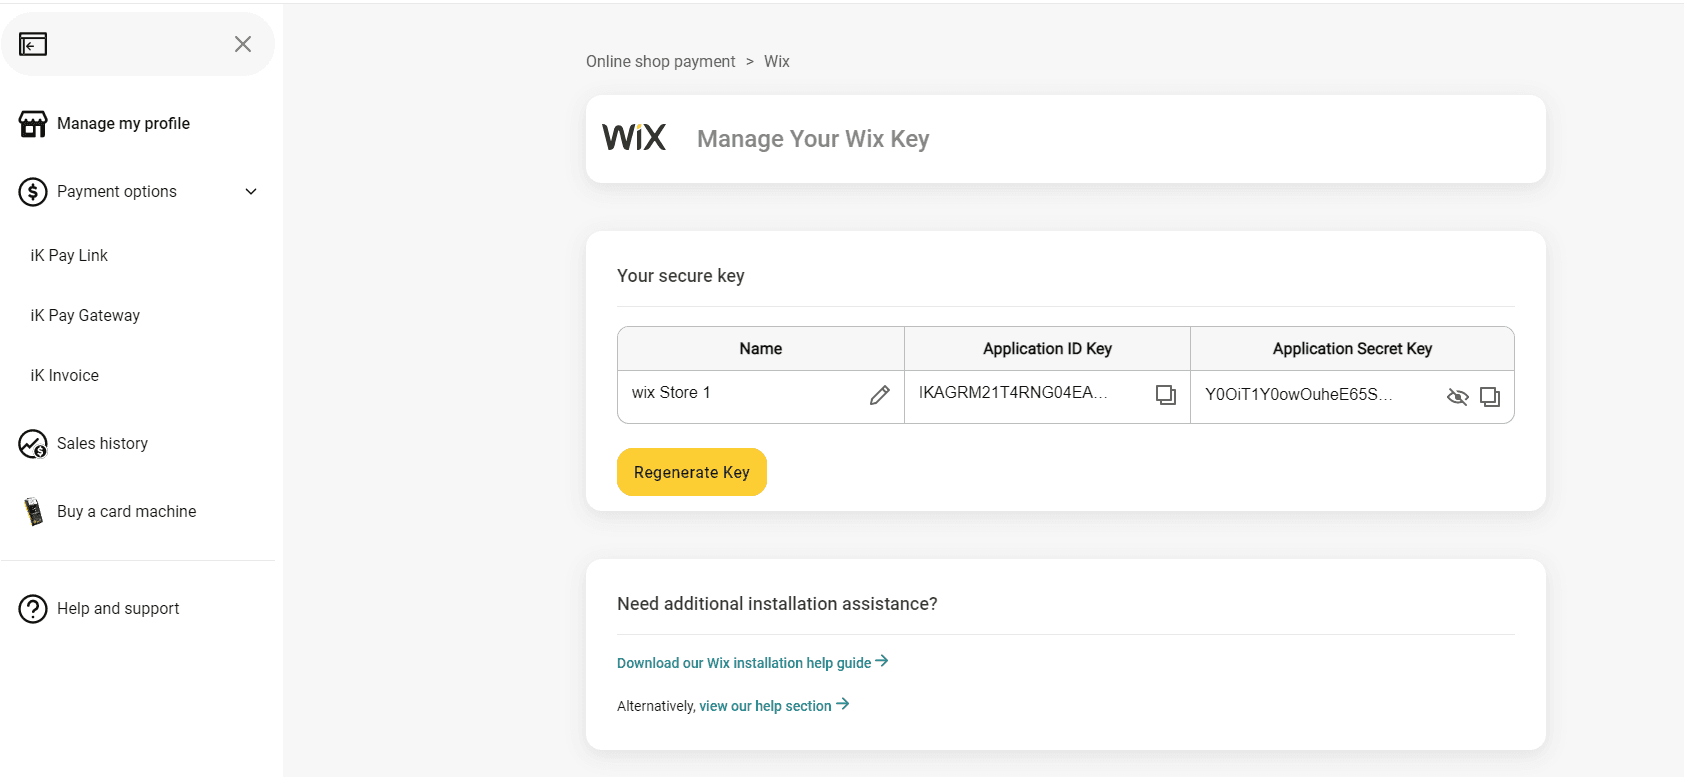
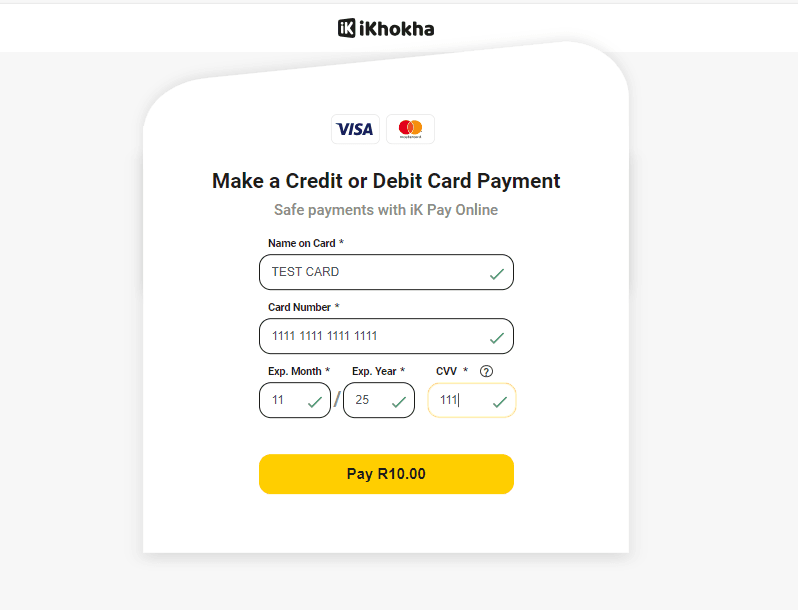
    The next series of steps require switching between the iKhokha & Wix Screens.

  8. Navigate back to the iK Dashboard and the Wix key management screen. 

    RegenerateKey

  9. Copy (ctrl + c) the “Application ID Key” (A) from the iKhokha Profile page.

  10. Navigate back to the “Settings” tab on your Wix admin dashboard..

  11. Paste (ctrl + v) the Application ID key into the “Application ID Key” field (A).


  12. Navigate back to the iK Dashboard and copy (ctrl + c) the “Application Secret Key” field (B).


  13. Navigate to the Wix settings tab and paste (ctrl + v) into the “Application Secret Key” field (B).


  14. You’re done! 
    Enjoy transacting with iKhokha.

Should you have any questions or need further assistance, please reach out to us on 087 222 7000 or email support@ikhokha.com.